Flying Bear Ghost 6 Maintenance and Tuning Guide

* Affiliate Disclosure: We may earn a commission from qualifying purchases made via our verified links at no additional cost to you.
The Industrial Maker is reader-supported. When you purchase equipment, parts, or materials through links on our site, we may earn an affiliate commission at no additional cost to you.
Flying Bear Ghost 6 Maintenance and Optimization Guide
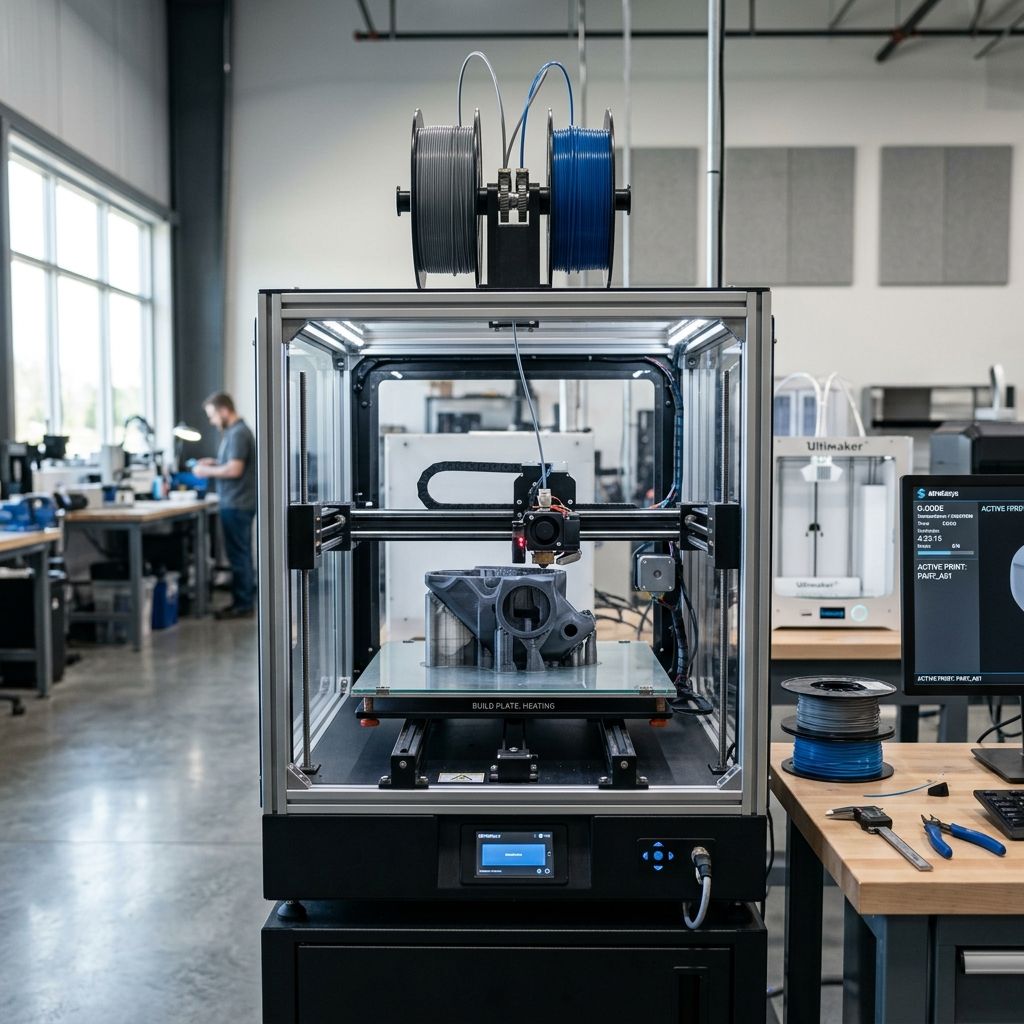
Here is how to maintain, tune, and harden the Flying Bear Ghost 6 chassis for 24/7 engineering duty, eliminating gantry binding, extruder slipping, and hotend thermal creep.
Recommended Hardware: Flying Bear Ghost 6
Check current stock, real-time pricing, and official replacement parts directly on Amazon:
View on Amazon • Check Live Price →Shop Floor Maintenance & Optimization Summary
The Flying Bear Ghost 6 is a workhorse enclosed printer with a rigid sheet-metal frame, but prolonged production runs quickly expose weak spots in its stock extruder gear alignment, Z-axis leadscrew constraints, and hotend thermal barrier. Keeping this machine operating within tight mechanical tolerances requires methodical belt frequency tuning, bi-metal heatbreak retrofits, and scheduled drivetrain lubrication. Use our Flow Rate Calculator to accurately measure volumetric melt limits before pushing feed rates past stock firmware boundaries.
Key operating benchmarks: Target XY belt tension frequency at 110 Hz over a 150 mm span, cap volumetric extrusion rate at 11.5 mm³/s on the stock V6-style hotend block, and maintain chamber ambient temperatures under 45°C to avoid extruder stepper thermal tripping.
The Volumetric Melt Limit Equation: Diagnosing Under-Extrusion
When workshop operators complain that the Flying Bear Ghost 6 is 'clicking' or skipping steps during infill passes, nine times out of ten they have exceeded the physical thermal boundary of the heater block rather than suffering a mechanical gear failure. Thermoplastic extrusion is strictly rate-limited by the thermodynamic energy transfer occurring inside the hotend melt zone.
The volumetric flow rate Q required by your slicer during any given toolpath is defined by:
Q = v * w * h
Where:
- v: Toolpath print speed (in mm/s).
- w: Extrusion line width (in mm).
- h: Layer height (in mm).
Simultaneously, the maximum thermal energy absorption rate of the filament passing through the melt zone is governed by the enthalpy of fusion and sensible heating:
P_thermal = rho * Q * [c_p * (T_nozzle - T_ambient) + Delta H_f]
Where:
- rho: Polymer density (e.g., 1.24 g/cm³ for PLA, 1.05 g/cm³ for ABS).
- c_p: Specific heat capacity of the solid polymer (typically 1.8 to 2.1 J/g·K).
- T_nozzle - T_ambient: Thermal gradient between the heated nozzle orifice and the incoming cold filament (e.g., 240°C - 25°C = 215 K).
- Delta H_f: Latent heat of fusion for semi-crystalline polymers (or softening enthalpy for amorphous polymers).
Let us calculate a real workshop scenario. An operator runs a standard 0.4 mm nozzle on the Ghost 6 with a line width w = 0.45 mm, a layer height h = 0.28 mm for fast prototyping, and sets slicer print speed v = 100 mm/s:
Q = 100 mm/s * 0.45 mm * 0.28 mm = 12.60 mm³/s
The stock Flying Bear Ghost 6 uses a standard brass nozzle paired with a 40W ceramic cartridge inside a compact aluminum block. Bench testing proves this heater assembly has a reliable continuous thermal transfer limit of approximately 10.5 to 11.2 mm³/s for standard ABS or PETG. At 12.60 mm³/s, the core of the 1.75 mm filament string fails to reach glass transition temperature before being forced into the nozzle orifice constriction. Viscous drag spikes dramatically, backpressure inside the melt chamber exceeds the drive torque of the dual-gear extruder, and the stepper motor begins skipping teeth. Unless you slow down perimeter speeds or upgrade to a high-flow CHT-style split-core nozzle, pushing feed rates beyond this calculated limit will guarantee underextrusion and brittle layer bonding.
Gantry Squaring and CoreXY/Cartesian Belt Resonance Tuning
The Flying Bear Ghost 6 utilizes a modified Cartesian motion layout where the printhead carriage travels along parallel linear rods driven by twin GT2 timing belts. Over 200 to 300 hours of continuous vibration, the sheet metal mounting brackets and idler pulleys experience settling, leading to gantry racking where the X-axis carriage is no longer perpendicular to the Y-axis guide rails.
To diagnose gantry skew without disassembly:
- Power down the stepper drivers to allow free manual gantry movement.
- Slide the X-axis crossbar gently toward the front frame until the bearing blocks make contact with the mechanical end stops on both the left and right sides.
- If the left bearing block makes solid contact while the right bearing block maintains a visible gap of 0.5 mm or greater, your gantry is racked. This angular misalignment forces linear bearings to bind, produces non-square right angles on mechanical brackets, and introduces diagonal belt rub.
To true the gantry, loosen the setscrews on the synchronization pulleys on the rear drive rod. Push both ends of the gantry firmly against the front frame corners to establish true mechanical squareness, and then retighten the setscrews applying threadlocker to prevent drift.
Next, tune belt tension using acoustic frequency analysis rather than subjective finger-plucking. Pluck the belt over an unsupported 150 mm span while holding an acoustic spectrum analyzer microphone (a smartphone running an audio frequency analyzer app works remarkably well). Adjust the tensioning thumbscrews until both belts resonate cleanly between 105 Hz and 115 Hz. Equal tension between both drive paths is mandatory; an imbalance greater than 10 Hz will cause circular holes to print as ovals and introduce high-frequency ghosting along perimeter walls. For comparison with high-acceleration enclosed platforms, review our diagnostic on Creality K1C and K2 Pro Extrusion and Resonance Fixes.
Direct-Drive Extruder Maintenance: Gear Alignment and Tension Arm Wear
The Ghost 6 features a compact direct-drive extruder mounted directly atop the printhead carriage. While direct drive provides superior retraction responsiveness compared to long Bowden tubes, the dual-gear drive assembly requires disciplined maintenance to prevent chewing through engineering filaments.
First, inspect the drive gear mesh. Over time, brass drive gears wear unevenly, forming a dished groove along the tooth profile that slips against abrasive carbon-fiber or glass-filled polymers. Hardened steel dual gears should be installed if you run abrasive filaments regularly. Check the idle gear needle bearings: remove the idler arm pivot bolt, clean out accumulated filament dust, and apply a drop of light synthetic machine oil (ISO VG 32). Never let grease touch the knurled teeth that bite into the filament.
Second, calibrate the idler spring preload. If the tensioning thumbscrew is overtightened, the hardened drive gears will crush 1.75 mm filament out-of-round, converting it into an oval cross-section of 1.95 mm x 1.55 mm. This deformed filament binds inside the PTFE guide tube entering the heatbreak. Set tension so the gear teeth leave distinct, microscopic indentation marks on the filament surface without flattening or cracking the filament core.
Hotend Overhaul: Curing Heat Creep and Bi-Metal Upgrades
The factory hotend on the Ghost 6 uses a PTFE-lined or standard stainless steel heatbreak. When printing low-temperature materials like PLA inside an enclosed chamber, ambient air temps climb to 40°C or higher. The small 3010 axial cooling fan struggles to evacuate heat from the cooling fins, causing the thermal transition zone to migrate upward into the cold block—a classic defect known as heat creep.
When heat creep occurs, filament softens prematurely 15 mm above the heater block. It expands, mushrooms against the internal throat wall, and jams solid upon cooling. For deep technical context on thermal barrier failures across modern toolheads, consult our analysis on Prusa MK4S vs MK4 Heat Creep and Heatbreak Fixes.
To permanently harden the Flying Bear Ghost 6 against heat creep:
- Install a Copper-Titanium Bi-Metal Heatbreak: The titanium alloy tube has an exceptionally low thermal conductivity (approx. 7.8 W/m·K) compared to brass or copper, keeping the thermal transition zone under 2.0 mm in height. The copper upper section rapidly dissipates residual heat into the heatsink fins.
- Apply Boron Nitride Thermal Paste: Coat the exterior threads of the cold side of the heatbreak with boron nitride thermal paste before screwing it into the aluminum heatsink. Never apply thermal paste to the hot heater block threads.
- Hot Tighten at 285°C: Always tighten the nozzle against the heatbreak at 285°C using a torque wrench calibrated to 2.5 N·m. A cold-tightened nozzle will develop microscopic gaps between the nozzle face and heatbreak shoulder due to differential thermal expansion, causing molten plastic to leak over the heater block threads and burn.
Z-Axis Leadscrew Alignment and Anti-Backlash Preload
The Flying Bear Ghost 6 cantilevered or dual-guided bed platform rides on vertical linear shafts guided by a central T8 leadscrew. Z-banding—repeating horizontal layer bands that match the 8 mm lead pitch of the leadscrew—is the most common cosmetic flaw reported by shop technicians.
Z-banding on this chassis is almost never caused by layer height calculation errors; it is caused by mechanical leadscrew runout. If the leadscrew is slightly bent or if the brass nut is bolted rigidly to the bed carriage without radial compliance, any eccentricity in the rotating screw pushes and pulls the entire print bed back and forth in the X and Y planes.
To eliminate Z-wobble:
- Loosen the mounting screws on the brass T8 leadscrew nut by 1/2 turn. The nut should be allowed to float radially by 0.5 mm to absorb screw wobble without transferring lateral forces to the bed frame.
- Replace the stock brass nut with a spring-loaded POM (polyoxymethylene) anti-backlash nut. POM offers a significantly lower coefficient of friction against stainless steel, eliminates mechanical backlash during small Z-hops, and runs silently without black graphite slurry.
- Clean the entire leadscrew with a brass wire brush and degreaser to strip away old contaminated lubricant, and recoat with synthetic PTFE-fortified grease (Super Lube 21030). Never use thin WD-40 or heavy automotive wheel bearing grease.
Enclosure Thermal Management for Technical Filaments
One of the major selling points of the Ghost 6 is its integrated acrylic panels and front door enclosure. However, running technical filaments like ABS, ASA, PC-ABS, and nylon requires careful thermal balance:
- Chamber Thermal Soak Protocol: When printing ABS or ASA, power the heated bed to 105°C and leave the door closed for 20 minutes before initiating the print. This thermal soak brings the interior air chamber up to 42°C - 48°C, drastically lowering the thermal contraction coefficient of the cooling plastic and preventing corner warping.
- Moisture Control in Storage: Engineering nylon and technical copolyesters degrade within hours inside humid workshop air; store your spools in active dry boxes using rechargeable silica, detailed in our teardown of Wisedry 50g Desiccant Packs for Workshop Operations.
- Mainboard and Stepper Cooling: The electronics bay beneath the printer houses the mainboard and TMC2208/2209 silent stepper drivers. When printing inside a heated room with an insulated bed running at 110°C, the bottom chassis fan must draw fresh ambient air from outside the enclosure. If the electronics bay surpasses 55°C, stepper drivers will enter thermal shutdown, dropping steps and ruining 14-hour print runs.
Flying Bear Ghost 6 Preventative Maintenance Checklist
- Every 100 hours: Clean hardened filament dust and micro-shavings from extruder drive teeth using a brass wire brush.
- Every 150 hours: Check GT2 belt tension frequency with an acoustic tuner; re-tension to 110 Hz across the 150 mm unsupported span.
- Every 250 hours: Wipe down 8 mm hardened steel linear guide rods with isopropanol and lubricate with synthetic oil (ISO VG 68 or lightweight PTFE oil).
- Every 300 hours: Clean Z-axis T8 leadscrew and reapply PTFE synthetic grease to prevent POM anti-backlash nut wear.
- Every 500 hours: Check hotend heater block cartridge clamping screw and thermistor grub screw for thermal relaxation.
- Every 500 hours: Inspect 3010 hotend heatsink cooling fan blades for hair, stringing whiskers, and bearing rattle.
- Every 1000 hours: Inspect frame corner gusset bolts and bed cantilever support brackets with a torque wrench to ensure 2.8 N·m rigidity.
Flying Bear Ghost 6 Component Life Cycle & Replacement Matrix
| Sub-Component | Stock Material | Expected Service Life | Failure Mode | Recommended Upgrade |
|---|---|---|---|---|
| Heatsink Cooling Fan | 3010 Sleeve Bearing | 600 - 800 hours | Bearing stall, reduced CFM, heat creep jams | 3010 Dual Ball-Bearing Fan (GDSTIME / Sunon) |
| Thermal Heatbreak | Stainless Steel (PTFE-lined) | 500 hours (PLA) / 200 hours (PETG) | PTFE lining charring, bore swelling, clogging | Bi-Metal Copper/Titanium Heatbreak (V6 style) |
| Extruder Drive Gears | Machined Brass / Mild Steel | 400 hours (Abrasive CF) / 1200 hours (Standard) | Tooth wear, filament slippage, false runout | Hardened Tool Steel 55 HRC Dual Gears |
| Z-Axis Lead Nut | Rigid Cast Brass | 800 - 1000 hours | Thread slop, Z-banding, leadscrew resonance | Spring-Loaded POM Anti-Backlash Nut |
| Motion Belts (XY) | 6 mm Neoprene Rubber GT2 | 1500 hours | Fiber stretching, tooth shear, tension drop | Gates PowerGrip 2GT High-Torque Belts |
| Bed Build Surface | Magnetic Textured PEI Sheet | 1000 thermal cycles | Loss of adhesion, coating peeling from PETG | Double-Sided Spring Steel PEI Sheet (Rough/Smooth) |
Frequently Asked Questions
Why does the Flying Bear Ghost 6 extruder click during fast infill printing?
Extruder clicking occurs when the commanded volumetric flow rate exceeds the hotend thermal melt capacity (roughly 11 mm³/s on the stock heater block), causing backpressure that overcomes extruder stepper torque; fix this by reducing infill speed or increasing nozzle temperature by 5°C to 10°C.
How do I stop PLA from clogging inside the Flying Bear Ghost 6 enclosure?
Printing PLA inside a fully enclosed Ghost 6 traps heated air above 40°C, causing filament to soften prematurely inside the cold section of the heatbreak; resolve this by opening the top lid and swinging the front acrylic door ajar during all PLA print cycles.
What is the correct nozzle tightening torque for the Ghost 6 hotend?
Always heat the hotend to 285°C before tightening the nozzle to precisely 2.5 N·m using a calibrated torque socket; tightening the nozzle cold leaves microscopic thermal expansion gaps that allow molten plastic to seep through heater block threads.
How do I fix horizontal banding lines on tall prints with the Ghost 6?
Horizontal banding matching an 8 mm pitch is caused by leadscrew eccentricity and rigid brass nut binding; replace the rigid brass nut with a spring-loaded POM anti-backlash nut and leave its mounting screws half a turn loose to allow radial float.
Workshop Safety Alert: Mains Heated Bed Wiring and Strain Relief
The Flying Bear Ghost 6 utilizes a high-draw silicone heated bed connected via a flexible umbilical cable chain. Periodically inspect the rear cable exit grommet and strain-relief clamp. If the wiring harness binds against the metal rear chassis during full Z-axis downward travel, continuous bending stress can fatigue the internal copper conductors, creating an electrical fire hazard or intermittent heater failure. Ensure a generous bend radius of at least 45 mm along the entire cable bundle.
Related Intel
Bambu Lab P1S & P1P Common Problems: Workshop Fixes
Comprehensive engineering root-cause analysis and troubleshooting guide for Bambu Lab P1S and P1P 3D printers. Addresses high-incidence workshop failures including AMS PTFE capstan friction binding, extruder filament cutter jamming, carbon rod bearing slurry build-up, toolhead cover detachment, and enclosure heat creep clogs. Features mathematical formulations for Euler-Eytelwein capstan tube friction and CoreXY belt harmonic resonance tuning, backed by actionable maintenance procedures and diagnostic matrices.
Best Materials for Creality K2 Pro & K1C: Industrial Filament Guide
Definitive materials selection and thermal processing guide for the Creality K2 Pro and K1C high-speed CoreXY 3D printers. Evaluates fiber-reinforced polymers (PA-CF, PET-CF, PC-CF), engineering thermoplastics (ASA, ABS, Polycarbonate), and high-flow flexibles. Includes mathematical formulations for thermal shrinkage strain, peel moment crystallization stress, and hotend volumetric throughput ceilings. Features comprehensive rheological parameter tables, hygroscopic pre-drying protocols, and enclosure heat management guardrails for zero-delamination industrial manufacturing.
Bambu Lab P1S vs P1P: Slicer & Hardware Comparison
Head-to-head engineering and software evaluation of the Bambu Lab P1S versus P1P CoreXY 3D printers. Analyzes enclosure thermal equilibrium thermodynamics, MC board auxiliary cooling, high-temperature composite processing (ABS, ASA, PA-CF), and software ecosystem differences across Bambu Studio, OrcaSlicer, and PrusaSlicer. Features an exhaustive workshop ROI model, failure rate metrics, and a definitive procurement verdict for commercial prototyping shops.