Sovol SV08 & SV08 Max: Klipper Errors and Workshop Fixes

* Affiliate Disclosure: We may earn a commission from qualifying purchases made via our verified links at no additional cost to you.
The Industrial Maker is reader-supported. When you purchase equipment, parts, or materials through links on our site, we may earn an affiliate commission at no additional cost to you.
Sovol SV08 & SV08 Max: Troubleshooting Klipper Halts, Quad-Z Racking, and Thermal Drift
The open-source Voron 2.4-inspired kinematics of the Sovol SV08 offer industrial-speed 3D printing, but high-acceleration Klipper faults, flying gantry racking, and inductive probe thermal drift frequently stall production cells. Here is our field guide to diagnosing and permanently clearing these hardware bottlenecks.
Recommended Hardware: Sovol SV08 & SV08 Max
Check current stock, real-time pricing, and official replacement parts directly on Amazon:
View on Amazon • Check Live Price →Field Highlights: CoreXY Diagnostic Baseline
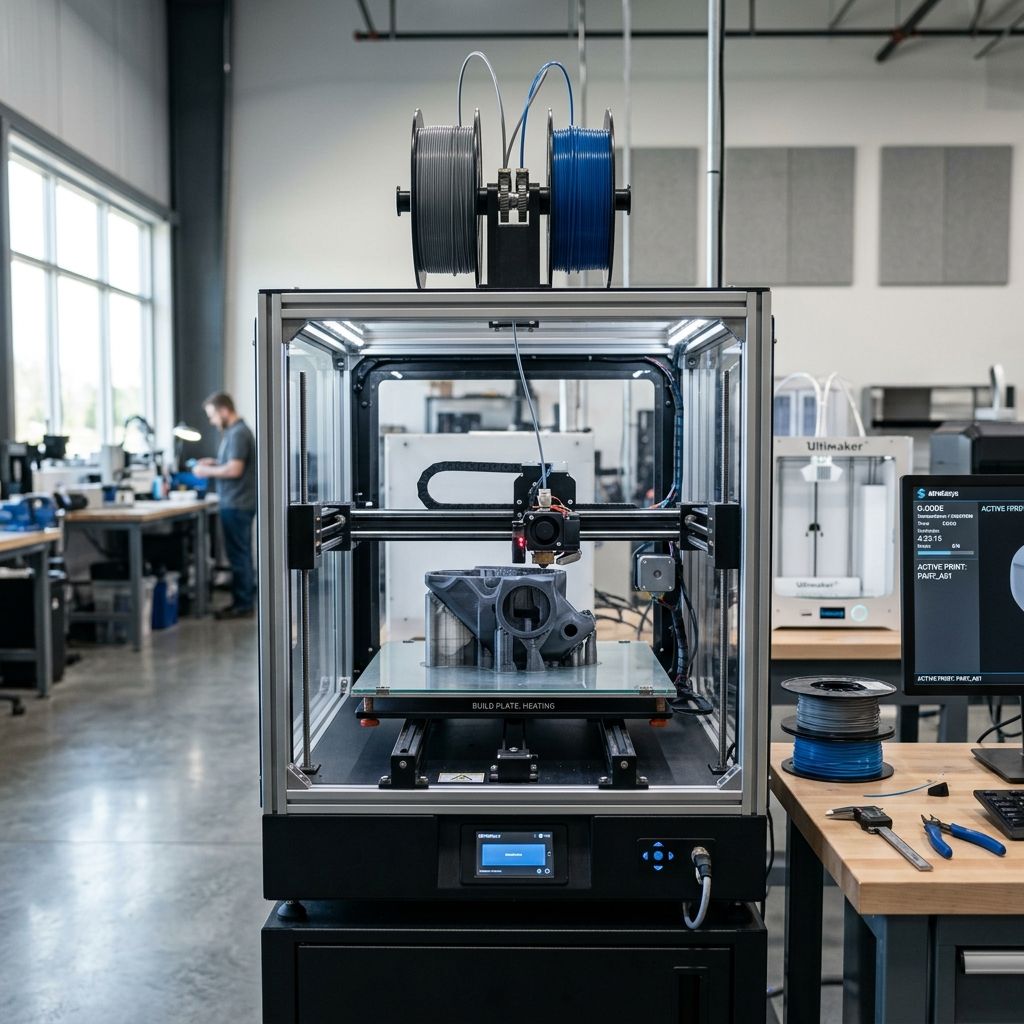
The Sovol SV08 and SV08 Max deploy a 4-motor flying gantry (Quad-Z) on a 350x350 mm bed platform, powered by an onboard Klipper host. While the mechanical architecture is inherently rigid, the production implementation introduces specific shop-floor failure points: Quad Gantry Leveling (QGL) timeouts from differential belt slack, inductive bed probe thermal hysteresis during 100°C ABS runs, and high-frequency resonance artifacts from unbalanced 9mm CoreXY belts. Calculate optimal kinematics with our Print Speed Calculator before pushing feed rates beyond 300 mm/s.
1. Quad Gantry Leveling (QGL) Timeouts and Gantry Racking Mechanics
The hallmark of the SV08 kinematics is its flying gantry suspended by four independent Z-axis stepper motors and linear rails. Before every job, Klipper executes QUAD_GANTRY_LEVELING to probe four corners of the bed and drive all four Z steppers until the gantry plane is parallel to the build surface within a strict tolerance (typically 0.0075 mm). In production runs, however, users frequently encounter the dreaded 'Gantry failed to level within max retries' halt.
When the gantry is de-energized during power-off or an emergency stop, gravity pulls the heavy direct-drive toolhead and cross-beam unevenly, inducing mechanical racking. If the initial tilt exceeds 3.5 mm across opposing diagonals, the linear bearings bind along the vertical 2020 extrusion profiles. When the Z steppers engage, one motor skips steps due to mechanical binding, causing the inductive sensor to register divergent coordinate heights on consecutive probe samples.
- Error Signature:
QUAD_GANTRY_LEVELING failed: Retries exceededin Mainsail / Fluidd - Root Mechanical Cause: Physical gantry racking and binding of Z-slider linear carriages
- Target Alignment Tolerance: 0.0075 mm maximum variance across all 4 probe reference points
- Shop Recovery Protocol: Manual mechanical de-racking and Z-belt tension balancing
To eliminate persistent QGL failures, follow this workshop realignment procedure:
1. Power down the machine and loosen the four Z-axis belt tensioner thumb-screws located at the upper gantry corners until all four vertical belts show minimal tension.
2. Manually slide two identical 100.00 mm aluminum machinist setup blocks under the left and right cross-beams, gently resting the gantry onto the blocks so both sides are physically level to the machine base frame.
3. Retighten all four Z belt tensioners uniformly, ensuring equal belt deflection under finger pressure.
4. In printer.cfg, temporarily increase retry_tolerance under the [quad_gantry_leveling] section from 0.0075 to 0.015 mm, and raise max_adjust to 10 mm. This grants the solver sufficient latitude to pull the gantry into coplanarity on the first two passes before tightening the final convergence loop.
2. CoreXY Belt Resonance and Acoustic Frequency Tuning
The SV08 utilizes 9 mm wide fiberglass-reinforced rubber timing belts in a classic CoreXY configuration to drive the toolhead at accelerations exceeding 20,000 mm/s². When the tension between the 'A' belt (left motor) and 'B' belt (right motor) is unbalanced, the toolhead experiences asymmetrical pull vectors. This manifests on printed engineering components as ghosting, diagonal ring ripples (ringing), and out-of-round circles that ruin the fit of precision dowel pins, much like the mechanical resonance issues encountered on the Creality K1C and K2 Pro.
Belt tension must be calibrated using the physics of transverse string vibration. The fundamental resonant frequency f of a stretched belt span is expressed by the classical transverse wave equation:
Where T is the tension in Newtons (N), m is the linear mass density of the belt in kilograms per meter (for standard 9 mm GT2 rubber belts, m ≈ 0.018 kg/m), L is the length of the unsupported vibrating belt span in meters, and f is the fundamental acoustic frequency in Hertz (Hz). In the SV08 gantry geometry, measuring an unsupported span length L = 0.150 m (150 mm) at a target tension of 55 N yields:
Using a guitar tuner mobile app or microphone spectrum analyzer positioned 10 mm from the belt span, pluck the belt like a guitar string. Adjust the M4 tensioning bolts at the front idlers until both the A and B belts resonate cleanly at 180–185 Hz. Achieving frequency parity within 3 Hz between belts eliminates asymmetric skew and reduces input shaper damping ratios (ζ) to below 0.08.
| Belt Frequency (150mm Span) | Calculated Tension (N) | Toolhead Acceleration Stability | Workshop Verdict |
|---|---|---|---|
| < 140 Hz | < 31.7 N | Severe belt slack; tooth jumping on 15k accel | Unusable for high-speed production |
| 150 - 165 Hz | 36.4 - 44.1 N | Moderate ringing; rounded exterior corners | Acceptable only for low-speed draft parts |
| 180 - 185 Hz (Target) | 52.5 - 55.4 N | Zero belt backlash; crisp 90° corners | Recommended Production Benchmark |
| > 210 Hz | > 71.4 N | Over-tensioned; stepper motor bearing binding | Premature idler flange and motor bearing failure |
3. Inductive Probe Thermal Hysteresis and First-Layer Compression
The stock bed probe on the SV08 is an inductive proximity sensor mounted directly adjacent to the high-flow hotend ceramic block. When heating the 350x350 mm aluminum bed to 100°C for technical filaments like ABS, ASA, or carbon-fiber nylon—as discussed in our guide to Bambu Studio industrial polymer profiles—the inductive coil absorbs radiant heat from the bed and hotend.
Inductive sensors operate by generating a high-frequency electromagnetic field and measuring eddy current losses in the metal build plate. However, coil resistance and internal ferrite core permeability drift significantly with temperature. A sensor calibrated at an ambient 25°C will trigger up to 0.18 mm higher when soaked at 65°C. This thermal hysteresis causes the nozzle to print in mid-air on cold starts, or aggressively scrape and gouge the PEI build plate if the bed is re-probed while fully hot.
DANGER / BED DAMAGE PROTOCOL: Never initiate a print job immediately after reaching target bed temperature. A 350 mm cast aluminum plate requires a minimum 15-minute thermal soak to stabilize bed curvature and sensor temperature. Failing to thermal soak will cause the nozzle to dig into the textured PEI sheet during the initial perimeter purge.
To permanently resolve probe thermal drift, implement this start-print workflow in your Klipper macro:
- Chamber Soak Timer: Hold the bed at 100°C with the toolhead parked at Z = 50 mm above the center for 12 minutes prior to homing.
- Relative Z-Offset: Replace the static
z_offsetinprinter.cfgwith an automatic Z-tilt calibration macro that probes the plate only after the toolhead sensor thermistor stabilizes above 45°C. - Eddy / Beacon Upgrade: For industrial 24/7 print cells, swap the inductive sensor for a contact-based eddy current surface scanner or mechanical nozzle-tap probe to eliminate electromagnetic thermal drift entirely.
4. Klipper Toolhead MCU Disconnects and 'Timer Too Close' Halts
The SV08 employs an independent toolhead micro-controller unit (MCU) connected to the mainboard via a high-flex umbilical cable carrying power and USB/CAN data signals. During high-jerk travel moves (e.g., 500 mm/s travel with rapid direction changes across the 350 mm span), operators frequently report sudden Klipper shutdowns displaying MCU 'extra_mcu' shutdown: Timer too close or Lost communication with MCU.
This failure occurs due to three compounding factors: voltage drop across thin umbilical power conductors during simultaneous heater and high-RPM part fan spikes, electrical noise induction into unshielded data pairs from adjacent stepper wiring, and buffer saturation on the host Linux computer. Apply these corrective countermeasures:
1. Check the umbilical wiring harness at the rear toolhead strain-relief bracket. The factory clamp often concentrates mechanical bending stress onto the internal copper strands, fracturing the ground wire. Install an extended curved strain-relief guide.
2. In the host Klipper configuration (/etc/default/klipper), ensure the host process runs with high real-time scheduling priority (chrt -f 50).
3. Verify that the 24V switching power supply output voltage under full heating load is adjusted to exactly 24.2 VDC using the adjustment potentiometer; a drop to 23.1 V under bed heater cycling triggers toolhead MCU brownouts.
5. Extruder Planetary Gear Clogging and Heat Creep in Technical Polymers
The SV08 direct-drive toolhead packs a hardened dual-gear planetary extruder inside a compact, lightweight housing. When running low glass-transition filaments like PLA or PETG inside an enclosed chamber, or when pushing engineering filaments through the high-flow ceramic hotend, heat conducts upward through the titanium-copper bi-metal heatbreak. The planetary reduction gears compress softened filament, flattening the drive teeth impressions and inducing sudden grinding.
If you experience clicking sounds from the toolhead during solid infill passes, immediately check the extruder tension screw. For standard 1.75 mm filament, the tension spring should be compressed by exactly 2.5 turns from initial thread engagement. Excessive tension crushes flexible or softened filament into an oval shape that jams inside the PTFE entry guide tube.
Frequently Asked Questions
Why does my Sovol SV08 fail Quad Gantry Leveling after transport or power loss?
Power loss allows the heavy flying gantry to settle unevenly, causing mechanical binding along the linear rails; place two 100 mm setup blocks under the gantry and equalize Z belt tension before re-homing.
What is the correct belt tension frequency for the Sovol SV08 CoreXY belts?
Both the A and B drive belts should resonate at 180 to 185 Hz across an unsupported 150 mm span to ensure balanced tension, zero backlash, and clean dimensional reproduction.
How do I prevent the nozzle from scraping the PEI sheet during hot prints on the SV08?
Allow the aluminum bed to thermal soak for at least 12 to 15 minutes before executing the final Z-tilt calibration and auto bed leveling pass to compensate for inductive probe thermal hysteresis.
What causes the 'Timer too close' Klipper error on the toolhead MCU?
This error is typically triggered by micro-fractures in the toolhead umbilical data harness or 24V supply voltage drops during simultaneous hotend heating and high-speed travel moves.
FINAL MAINTENANCE ADVISORY: Inspect the four vertical Z-axis idler bearings every 250 operational hours. The factory grease tends to migrate under high-speed reciprocating gantry moves. Re-lubricate all linear rails with synthetic ISO VG 68 linear bearing grease to prevent premature ball raceway spalling and gantry binding.
Related Intel
Bambu Lab P1S & P1P Common Problems: Workshop Fixes
Comprehensive engineering root-cause analysis and troubleshooting guide for Bambu Lab P1S and P1P 3D printers. Addresses high-incidence workshop failures including AMS PTFE capstan friction binding, extruder filament cutter jamming, carbon rod bearing slurry build-up, toolhead cover detachment, and enclosure heat creep clogs. Features mathematical formulations for Euler-Eytelwein capstan tube friction and CoreXY belt harmonic resonance tuning, backed by actionable maintenance procedures and diagnostic matrices.
Best Materials for Creality K2 Pro & K1C: Industrial Filament Guide
Definitive materials selection and thermal processing guide for the Creality K2 Pro and K1C high-speed CoreXY 3D printers. Evaluates fiber-reinforced polymers (PA-CF, PET-CF, PC-CF), engineering thermoplastics (ASA, ABS, Polycarbonate), and high-flow flexibles. Includes mathematical formulations for thermal shrinkage strain, peel moment crystallization stress, and hotend volumetric throughput ceilings. Features comprehensive rheological parameter tables, hygroscopic pre-drying protocols, and enclosure heat management guardrails for zero-delamination industrial manufacturing.
Bambu Lab P1S vs P1P: Slicer & Hardware Comparison
Head-to-head engineering and software evaluation of the Bambu Lab P1S versus P1P CoreXY 3D printers. Analyzes enclosure thermal equilibrium thermodynamics, MC board auxiliary cooling, high-temperature composite processing (ABS, ASA, PA-CF), and software ecosystem differences across Bambu Studio, OrcaSlicer, and PrusaSlicer. Features an exhaustive workshop ROI model, failure rate metrics, and a definitive procurement verdict for commercial prototyping shops.