ZBrush Presets and Export Profiles for 3D Printing

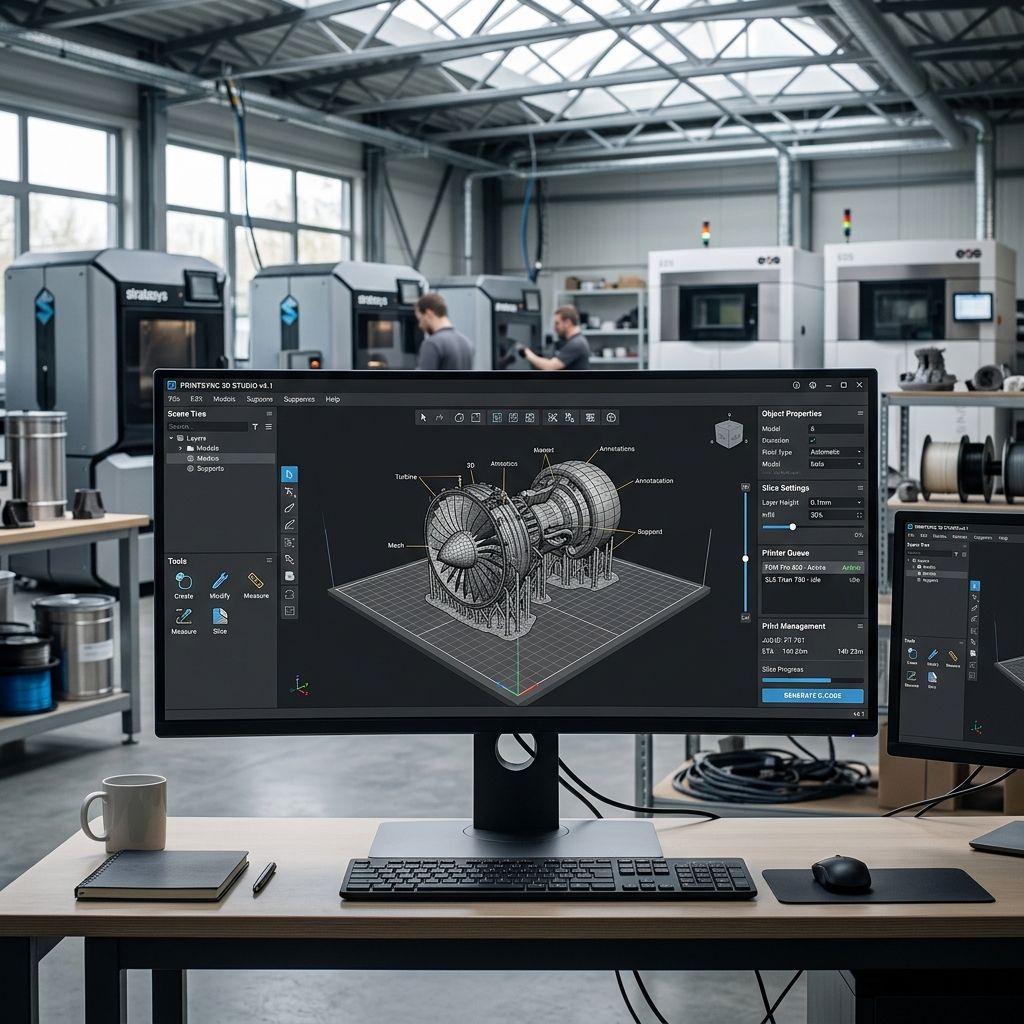
ZBrush Mesh Optimization & Export Presets for Additive Manufacturing
Configure Decimation Master presets, Dynamesh resolutions, and watertight 3D Print Hub export profiles without non-manifold geometry, surface distortion, or polygon bloat.
Digital Foundry Baseline Specs & Export Parameters
Preparing dense digital sculpts in Pixologic / Maxon ZBrush for production 3D printing requires bridging high-frequency artistic detailing (often 20M to 80M polygons) with slicing engine ingestion limits (typically under 3M to 5M polygons). Slicers like PrusaSlicer, Lychee, and Bambu Studio choke or crash on unoptimized meshes, while raw exports often contain non-manifold edges, self-intersecting shells, and inverted normals. Use our interactive Supports Calculator to plan overhang angles and support density once your hollowed, decimated OBJ/STL files are ready for slicing.
The Additive Slicing Problem: Triangle Budgets vs. Optical Resolution
In digital sculpting, dynamic subdivision and subtool stacking prioritize visual fidelity on a GPU viewport. However, additive manufacturing processes (whether SLA, DLP, SLS, or high-speed FDM) convert polygonal mesh boundaries into discrete planar toolpaths or rasterized UV pixel masks. When exporting an un-decimated sculpt with 30 million polygons, the resulting STL file exceeds 1.5 gigabytes. Slicers attempt to calculate ray-triangle intersections across every slice plane, triggering out-of-memory (OOM) fatal exceptions or generating slicing stalls lasting hours.
Conversely, aggressive, uncalibrated mesh reduction creates visible polygonal faceting across curved organic contours, destroying micro-texture detailing and introducing dimensional shrinkage across mechanical mating lugs. The objective of an industrial ZBrush preset workflow is to reduce polygon count by 85% to 95% while retaining chordal error within the physical resolution limits of the target additive hardware.
Chordal Deviation Physics: Calculating the Mathematical Polygon Cutoff
To establish a repeatable preset, technicians must calculate the minimum polygon density required to prevent visible faceting. This is governed by chordal deviation (sagitta), which describes the maximum geometric displacement between a curved mathematical surface and the planar polygonal triangle approximating it.
The chordal deviation equation for a circular cross-section of radius \(R\) subtended by an angle \(\theta\) is:
Δ = R · [1 - cos(θ / 2)]
Where:
- Δ: Chordal deviation (maximum radial error in millimeters).
- R: Curvature radius of the sculpt surface (mm).
- θ: Subtended angle between adjacent triangle vertices (radians).
If we approximate a curved feature as a regular polygon with \(N\) segments, the segment angle is \(\theta = 2π / N\). Substituting into the chordal formula gives:
Δ = R · [1 - cos(π / N)]
Solving for the required number of perimeter facets \(N\):
N = π / arccos[1 - (Δ / R)]
Consider an investment casting ring shank or a miniature figurine arm with a local curvature radius \(R = 8.0 \text{ mm}\). We are printing on a 12K monochrome resin printer featuring a pixel pitch of 19 μm (0.019 mm). To guarantee that faceting remains invisible and below the optical threshold of the light engine, the maximum permissible chordal deviation must satisfy \(\Delta \le 0.010 \text{ mm}\) (10 microns).
Applying our engineering formula:
1 - (Δ / R) = 1 - (0.010 / 8.0) = 1 - 0.00125 = 0.99875
arccos(0.99875) ≈ 0.050003 \text{ radians}
N = π / 0.050003 ≈ 3.14159 / 0.050003 ≈ 62.8 \text{ segments}
A circle of 8 mm radius requires at least 63 planar facets along its circumference to eliminate visible polygon lines under a 10 μm optical threshold. Translating this across the 3D surface area of our part gives a targeted mesh density budget. Any polygons beyond this threshold add computational overhead without contributing a single micron of real-world print fidelity.
Dynamesh Engineering: Establishing Solid, Watertight Internal Geometry
Sculptors frequently combine hundreds of subtools (horns, clothing folds, mechanical hard-surface fasteners, eyeballs) using Live Boolean operations. However, internal intersecting geometries create severe slicing bugs where slicers interpret hollow inner spaces as alternating solid/void boundaries. In our experience, failing to weld internal shells before slicing is the single most common cause of resin entrapment voids and un-cured core failures.
Follow this exact Dynamesh resolution protocol to unify complex subtools into a single watertight topological manifold:
- Scale Normalization via Tool > Geometry: Before executing Dynamesh, verify that your model scale is calibrated. An un-scaled ZBrush tool imported from third-party CAD might have a bounding box size of 2 units (ZBrush default unit space). Use 'Unify' or the Transpose Master / Gizmo3D measuring line to confirm real-world millimetric dimensions.
- Dynamesh Resolution Calculation: The Dynamesh grid is bounding-box dependent. For an asset measuring 150 mm on its longest axis, a Dynamesh slider setting of 512 delivers an internal voxel pitch of approximately 0.29 mm. For fine industrial filigree, set resolution to 896 or 1024 (voxel pitch ≈ 0.14 mm). Avoid exceeding 1536, which triggers memory thrashing and polygon counts over 40 million.
- Close Holes & Fix Mesh Check: Navigate to Tool > Geometry > MeshIntegrity and execute 'Check Mesh'. If non-manifold edges or points are detected, click 'Fix Mesh'. Then execute Tool > Geometry > Modify Topology > 'Close Holes' to eliminate micro-punctures.
- Dynamesh Subtraction & Internal Hollowing: Use the Create Shell feature with a thickness slider calibrated to your material specifications (typically 2.0 mm to 2.5 mm wall thickness for tough photopolymers). Always place at least two 3.5 mm diameter vent holes at the lowest Z-height points to prevent hydraulic suction cups during resin printing.
For additional insights on CAD geometry errors and Boolean kernel failures, read our field analysis on Fusion 360 Nightmares and How to Fix Them, where boundary representation (B-Rep) conversion to polygonal facets presents identical topological pitfalls.
Decimation Master Configuration: Custom Preset Profiles for Maximum RPM
Decimation Master is ZBrush's built-in vertex reduction plugin. Unlike standard isotropic subdivision reduction, Decimation Master utilizes an edge-collapse algorithm guided by surface curvature gradients. Flat surfaces and low-curvature areas are aggressively simplified with large elongated triangles, while high-frequency micro-details (wrinkles, pores, knurling) retain high vertex density.
To eliminate manual experimentation on every asset, configure these three standardized workshop presets within Zplugin > Decimation Master:
| Preset Profile | Target Poly Count | Reduction Percentage | Production Application & Slicer Target |
|---|---|---|---|
| Jewelry & Micro-SLA | 2,000,000 - 3,500,000 | 80% - 85% | Direct castable resin, 19µm-25µm LCDs, high-magnification masters |
| Industrial Prototyping | 1,000,000 - 1,800,000 | 90% - 92% | Engineering snap-fits, SLS nylon sintering, 50µm MSLA production |
| FDM Production Master | 350,000 - 650,000 | 96% - 98% | 0.4mm nozzle toolpaths, Bambu Studio / OrcaSlicer fast slicing |
| Mold Tooling Inserts | 1,500,000 - 2,200,000 | 88% - 90% | Silicone tooling masters, thermoforming cores, high heat deflection |
When executing Decimation Master, follow these critical sequence rules:
- Pre-process Current vs. Pre-process All: Always click 'Pre-process Current' to inspect memory allocations before batch-processing a 40-subtool hierarchy. Ensure 'Keep UVs' is disabled unless you are printing with full-color binder jetting (CJP) or PolyJet multimaterial systems; keeping UVs increases memory usage by 40% and prevents optimal triangle restructuring along texture seams.
- Freeze Borders: Toggle 'Freeze Borders' ON if your subtool has open mating surfaces or split assembly seams that must align flush with adjoining CNC-milled aluminum plates or secondary 3D prints. Freezing borders locks perimeter vertices, preventing boundary shrinkage.
- Symmetric Decimation: If your part features bilateral symmetry (such as an automotive intake manifold prototype or symmetrical enclosure), activate 'Use Symmetry'. This enforces identical vertex distributions across the X-axis, preventing asymmetric slicing infill artifacts.
When working with entry-level tools or multi-software pipelines, comparing mesh decimation behavior across packages is helpful; see our troubleshooting breakdown of Common SelfCAD Problems and Fixes to observe how browser-based reduction kernels differ from ZBrush's edge-collapse algorithms.
3D Print Hub: Automated Export Presets and Scale Calibration
Exporting raw STL files via standard Tool > Export often leads to inverted coordinates, millimeter-to-inch scale errors (parts importing 25.4 times too small or too large), and un-welded vertex normals. The official Zplugin > 3D Print Hub automates sizing, coordinate transformation, and format packaging.
Set up the following default configuration in 3D Print Hub:
- Update Size Size Ratio: Click 'Update Size Ratios' to extract the true bounding box. Select the millimeter (mm) unit toggle. If your component is designed to measure exactly 75.0 mm wide, enter '75' into the X-axis input field; 3D Print Hub automatically computes proportional scaling across Y and Z.
- Coordinate System Alignment: Check 'Flip Normals' OFF and set coordinate orientation to standard XYZ (Z-up). Some legacy slicing software requires Y-up orientation; verify your slicer's coordinate import preferences. Inverting normals forces the slicer to invert inside/outside detection, slicing your solid part as hollow air.
- Format Selection (Binary STL vs. OBJ vs. 3MF): Always select Binary STL or 3MF. ASCII STL files generate file sizes roughly 5x larger than binary files due to plain text coordinate formatting. 3MF files are increasingly preferred as they package multi-subtool assemblies with spatial positioning intact.
- Export All Subtools as Separate Files: Use the 'Export STL' button with 'All Subtools' checked. 3D Print Hub appends subtool names to the master file name, creating organized component folders ready for rapid batch nesting in print farm slicers.
Repairing Non-Manifold Artifacts & Slicing Failures in the Production Pipeline
Even with calibrated Decimation Master settings, complex boolean operations can leave behind degenerate triangles (zero-area polygons), non-manifold T-junctions, or self-intersecting internal shells. When a slicer encounters degenerate geometry, toolpath calculation fails, often skipping entire layers or creating air pockets.
If your exported mesh triggers missing layer warnings or retraction blobs in downstream CAM software (a problem extensively analyzed in our guide to Common Cura Slicing Errors: Missing Layers and Retraction Blobs), implement this benchtop ZBrush triage procedure:
- Step 1 - Weld Points Threshold: Navigate to Tool > Geometry > Modify Topology > 'WeldPoints'. Set the weld distance slider to 0.005. This merges coincident vertices that were severed during split hidden operations, eliminating open edge seams.
- Step 2 - Auto-Group & Split to Parts: Go to Tool > Polygroups > 'Auto Groups', followed by Tool > SubTool > 'Split to Similar Parts'. This unmasks hidden floating geometry—microscopic polygonal debris accidentally left behind inside hollow cavities. Delete all rogue subtools containing fewer than 100 vertices.
- Step 3 - Remesh via ZRemesher with Target Density: If Decimation Master generates extreme aspect-ratio sliver triangles that pinch or wrinkle, execute a ZRemesher pass at high density (Target PolyCount: 50) with 'Adaptive Density' enabled before running final decimation. ZRemesher produces clean, uniform quad topology that decimates into far more equilateral triangles.
- Step 4 - External Manifold Validation: As a final quality gate, run your exported STL through a CLI-based or automated repair pipeline (such as PrusaSlicer's integrated Netfabb service or Autodesk Meshmixer's Inspector tool) to verify that the boundary loop count equals zero.
Batch Production Protocol: Automating Multi-Subtool Export via ZScript
For high-throughput digital fabrication workshops processing dozens of custom orders daily, manual clicking through menus reduces labor efficiency. ZBrush supports automation via ZScript macros. Technicians can record and store an automated batch optimization macro in the ZStartup folder.
The standard macro execution flow should follow this rigid sequence:
- Select Master Subtool → Unhide all linked parts.
- Execute 'SubTool > Merge > MergeVisible'.
- Run 'Geometry > MeshIntegrity > FixMesh'.
- Trigger 'Dynamesh' at pre-set resolution 1024 with 2.2 mm internal shell offset.
- Execute 'Decimation Master > Pre-process Current' → 'Decimate to 1,500,000 Polys'.
- Call '3D Print Hub > Export Binary STL' to the local production network drop folder.
Frequently Asked Questions
What is the ideal polygon count for a 3D printable STL exported from ZBrush?
For high-detail SLA and resin printing, a total mesh count between 1.5 million and 3.0 million polygons provides maximum optical detail without overwhelming modern slicing software memory.
Why does my 3D slicer show red warning areas or report non-manifold edges on ZBrush exports?
This typically occurs due to un-welded subtool intersections, zero-area sliver triangles from boolean cuts, or internal hollow cavities without drainage channels; run 'Fix Mesh' and 'Close Holes' before export.
Should I keep UV maps when decimating a model for 3D printing in ZBrush?
Disable 'Keep UVs' in Decimation Master unless printing on a full-color binder jetting or PolyJet machine; discarding UV coordinates reduces RAM usage by 40% and yields cleaner edge-collapse geometry.
How do I prevent dimensional scaling errors when importing ZBrush STLs into slicers?
Use the 3D Print Hub plugin to explicitly set bounding box dimensions in millimeters before export, avoiding ZBrush's internal non-dimensional unit space.
Digital Asset & Inverted Normal Hazards
CAUTION: Always verify normal orientation before exporting production tooling. If subtools were created via negative extrusion or mirrored across the Gizmo3D without clearing displacement history, vertex normals may be inverted. Inverted normals cause slicing engines to invert internal toolpaths, treating the exterior boundary as void space and attempting to print solid resin or filament inside the support structure.
Related Intel
Vectary vs Industrial 3D Modeling Suites: ROI Analysis
Vectary delivers browser-native 3D modeling and WebGL staging for client visualization, but lacks the parametric B-rep history and precision tolerances required for mechanical production tooling.
Autodesk Maya Export Presets: Watertight STL & Mesh Prep
Configure Autodesk Maya export presets to produce watertight, manifold STLs for industrial slicers, featuring chordal deviation tessellation math and automated mesh cleanup scripts.
MagicaVoxel vs Blender for Additive Manufacturing Tooling
MagicaVoxel provides faster procedural prototyping for cellular lattices, but Blender is essential for engineering tolerances, modifier pipelines, and parametric CAD mesh export.