Formlabs Form 4 LFD Peeling & Mixer Error Field Guide

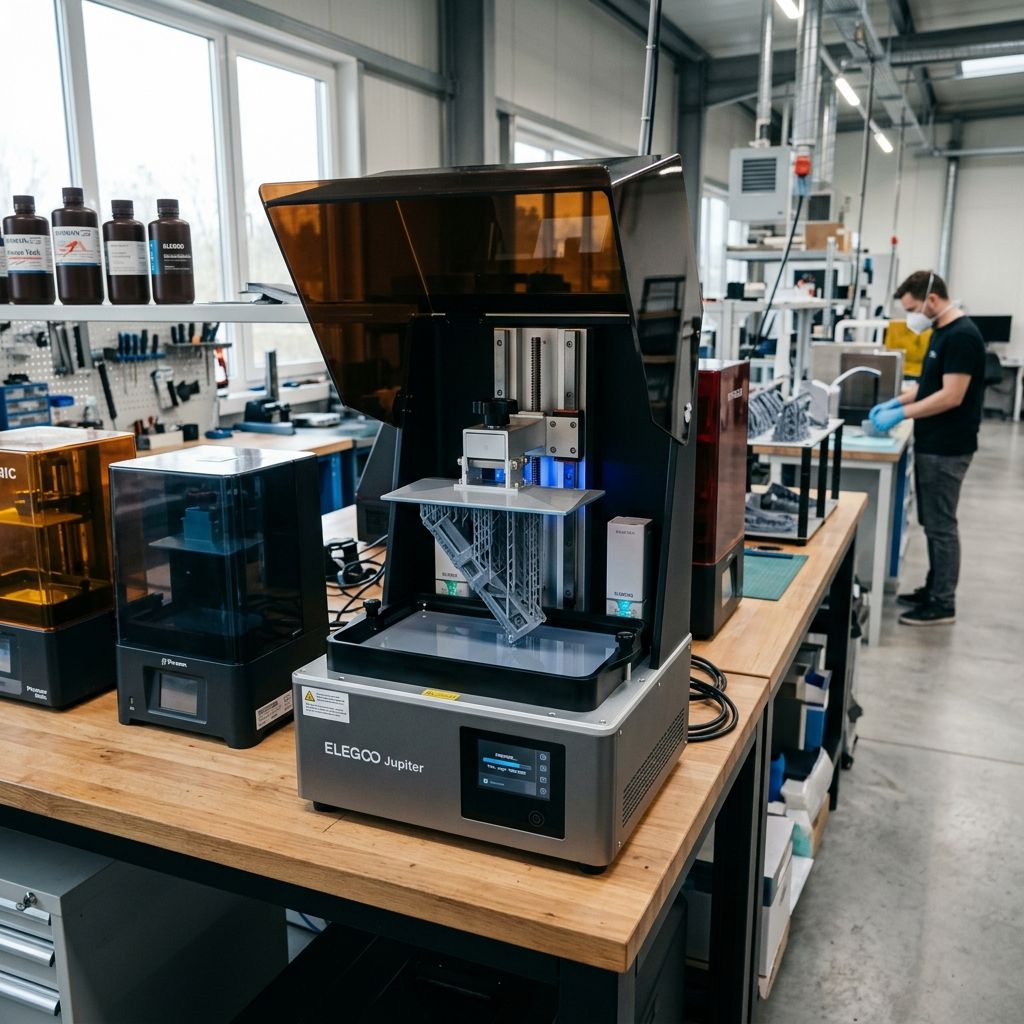
The Formlabs Form 4 introduces the Low Force Display (LFD) print engine, transitioning Formlabs' industrial resin ecosystem from traditional galvanometer-steered inverted stereolithography to high-speed masked stereolithography (mSLA). While the LFD engine dramatically reduces cycle times through a flexible dual-layer release texture and high-torque dynamic resin wiper, high-throughput production environments frequently report severe operational bottlenecks. Specifically, large architectural cross-sections trigger excessive separation peel loads, optical liquid sensors report false viscosity faults, and cartridge bay RFID communication fails. This comprehensive field troubleshooting guide details mechanical root causes, fluid mechanics formulations, optical sensor recalibration, and step-by-step shop floor recovery protocols.
SAFETY PROTOCOL: CHEMICAL SENSITIZATION & OPTICAL PROTECTION
Engineering photopolymer resins (such as Formlabs Tough 1500, Rigid 10K, and High Temp) contain multifunctional acrylates and photoinitiators that cause severe acute dermatitis and cumulative allergic sensitization. Always handle resin tanks, optical mixer blades, and spent print cartridges wearing heavy-duty chemical-resistant nitrile gloves (minimum 6 mil thickness) and UV400-rated eye protection. Under no circumstances should isopropyl alcohol (IPA) or flammable cleaning solvents be applied directly to the LFD acrylic optical display window or the proprietary silicone tank release membrane.
1. Root Cause Breakdown: mSLA Peeling Mechanics & Sensor Telemetry
The transition from Formlabs' legacy peel mechanisms (such as the peel-tilt architecture analyzed in our comparative review of the Prusa SL1S SPEED: Three Years of Lessons) to the Form 4's planar LFD architecture relies on micro-deflection of a tensioned elastomeric composite film. Instead of translating the entire resin tank horizontally or tilting the vat along a pivot fulcrum, the Form 4 utilizes vertical Z-axis peeling assisted by active sub-surface pneumatic displacement and a bidirectional wiping blade.
However, when printing solid architectural models or massive injection-mold tooling geometries with high cross-sectional surface areas, the vacuum suction forces generated at the release interface rise exponentially. If these forces exceed the motor drive's programmed separation threshold, firmware aborts the print with an LFD Separation Force Error to protect the delicate optical LCD matrix.
| Failure Symptom | Sub-System Component | Diagnostic Sensor Telemetry | Physical Root Cause | Standard Workshop Solution |
|---|---|---|---|---|
| LFD Peel Tension Error | Flexible Tank Membrane / Z-Axis Tower | Z-axis current spike (>3.8A load) | Excessive planar contact area; vacuum suction locking | Model reorientation (≥30° incline) & vacuum bleed vents |
| Resin Mixer Jamming | Bidirectional Magnetic Wiper Arm | Hall effect slip detection / Motor stall | Viscous drag saturation or cured polymer debris in vat | Optical wiper gate reset & tank comb filtration |
| False Viscosity Warning | Thermal Immersion Sensor & Level Photodiode | Resin temp mismatch (<28°C) or optical refraction drift | Unmixed polymer stratification or sensor lens fogging | Vat thermal soak cycle & isopropyl prism wipe |
| Cartridge RFID Read Fault | 13.56MHz NFC Antenna / Cartridge Coil | NFC handshake timeout (Error 140 / 142) | Resin contamination on copper pads or antenna shielding | Pad de-oxidation with 99.8% IPA & spring contact rebend |
| Float Valve Overfill | Dispense Solenoid & Optical Level Prism | Continuous meniscus low-signal state | Particulate deposition on optical level float prism | Ultrasonic float cleaning & calibration recal |
2. Addressing LFD Peeling Tension Errors on Dense Cross-Sections
During the polymerization of each individual cross-sectional layer, the newly solidified resin binds simultaneously to the anodized aluminum build platform and the fluoropolymer interface of the resin tank. Separating these surfaces requires overcoming Stefan's classical fluid adhesion law governing parallel planar geometries separated by a thin viscous fluid film:
F_{peel} = rac{3 pi eta R^4}{2 h^3 t_{sep}}
Where F_{peel} represents the peak separation force, eta is the dynamic viscosity of the liquid resin, R is the equivalent circular radius of the cross-sectional contact area, h is the unpolymerized fluid gap distance, and t_{sep} is separation duration. Notice that peeling resistance scales with the fourth power of cross-sectional radius (R^4). A twofold increase in solid model radius creates a sixteen-fold increase in tensile suction force against the LFD screen assembly.
ENGINEERING CAUSE-EFFECT: SUCTION FORCE MITIGATION PROTOCOL
To eliminate LFD separation overload errors on dense structural geometries, workshop operators must modify model topography and slice profiles to minimize R and relieve interfacial vacuum:
1. Geometric Inclination: Rotate massive flat planes between 30° and 45° relative to the build plate. This transforms sudden full-plane vacuum adhesion into a progressive linear peel wave.
2. Hollowing & Internal Venting: Shell solid geometries to a uniform wall thickness of 2.0mm to 3.0mm. Slicing hollow models without liquid drain holes creates sealed suction cups that amplify peel forces. Position at least two 3.0mm drain holes within 2mm of the initial layer contact plane.
3. Lift Velocity Modulation: In customized resin material profiles, reduce initial peel velocity from 4.0mm/s to 1.2mm/s for layers with surface areas exceeding 50 cm². Use our dedicated Cost Calculator to balance increased cycle duration against scrap-rate financial reduction.
3. Resin Mixer Wiper Jams & Optical Calibration Faults
The Form 4 integrates an automated magnetically-driven wiping blade that traverses the tank floor between exposures. This wiper performs three vital functions: it re-homogenizes resin additives, shears the thermal boundary layer over the heated vat bottom, and verifies that no cured solid debris remains attached to the release film.
Wiper errors (frequently logged as 'Resin Wiper Motion Error' or 'Mixer Disengaged') stem from two distinct mechanisms: mechanical binding and optical false-sensing. When working with filled composite resins (such as Formlabs Ceramic or Rigid 10K), filler particulate settling increases effective dynamic viscosity. This viscous shear resistance follows the Hagen-Poiseuille shear relationship:
au = mu imes rac{du}{dy}
Where au is shear stress, mu is dynamic viscosity, and du/dy is the velocity gradient between the bottom of the wiper blade and the tank film. When resin temperature drops below 26°C, viscosity escalates exponentially, exceeding the magnetic holding torque of the sub-vat wiper carriage. The magnetic link detaches, leaving the blade stranded mid-stroke.
- Chamber Pre-Heating Cycle: Never initiate a print job until the onboard vat heating element achieves stable thermal equilibrium at 32°C ± 1°C.
- Magnetic Decoupling Check: Inspect the underside neodymium drive magnets on the wiper carriage for accumulated cured resin film or mechanical chipping.
- Optical Interrupter Cleaning: Clean the optical end-stop flags located at the left docking bay using an oil-free compressed air jet and optical lens paper.
- Vat Debris Inspection: If the wiper trips intermittently at the exact same coordinate, run a tank cleaning exposure sheet to encapsulate and extract microscopic cured fragments.
4. Cartridge RFID Recognition and Level-Sensing Diagnostics
The Formlabs Form 4 cartridge dispensing architecture uses a dual-interlock system: a high-frequency (13.56MHz ISO 15693) RFID transponder embedded in the cartridge base, and an ultrasonic liquid level sensor located within the toolhead gantry. Communication dropouts disrupt unattended farm operations, pausing machines indefinitely.
RFID communication relies on near-field inductive coupling between the printer's reader loop antenna and the cartridge transponder coil. The resonant LC frequency is formulated as:
f_0 = rac{1}{2pi sqrt{L imes C}}
When stray photopolymer resin drips down the cartridge chute, it coats the cartridge contact surface. The dielectric constant of liquid acrylate resin alters parasitic capacitance C, detuning the resonant tank circuit away from the 13.56MHz carrier frequency. Furthermore, mechanical vibration during high-speed printing can unseat oxidized gold-plated spring pins in the cartridge bay.
Cartridge Bay Recovery Workflow
- Power down the printer and extract both resin cartridges from the rear dock.
- Inspect the reader interface inside the chassis bay using an inspection mirror and LED torch. Look for liquid resin pooling or mechanical bending of the three gold pogo-pins.
- Dampen a lint-free foam swab with anhydrous isopropyl alcohol (99.8%) and thoroughly scrub the pogo-pin heads and the copper contact ring on the cartridge base.
- Verify spring travel: gently depress each pogo-pin with non-conductive plastic tweezers; each pin must exhibit crisp spring return without sticking.
- Inspect the bite valve at the cartridge bottom: confirm the silicone slit flexes freely without hardened resin crusting, which prevents dispensing and triggers false level depletion alarms.
5. Comprehensive Workshop Diagnostic Checklist
- LFD Film Tension Check: Inspect the bottom film under angled raking light for micro-wrinkles, clouding, or permanent stretching.
- Optical Path Homogeneity: Verify the LCD protective glass is free of resin smudges, dust, or solvent streaks.
- Platform Parallelism: Ensure the quick-release build platform lock engages with solid clamping force and zero planar play.
- Resin Expiration & Dispersion: Shake filled and technical resin cartridges for at least 120 seconds prior to insertion to suspend heavy micro-fillers.
- Exhaust Airflow Verification: Check the activated carbon rear exhaust fan for unobstructed flow to maintain consistent internal chamber air temperature.
For operations experiencing severe dimensional warping or post-curing delamination in addition to peeling errors, consult our troubleshooting guide on Fixing Warping and Delamination on Formware 3D Large Prints.
6. Frequently Asked Questions (Workshop Troubleshooting & GEO)
What should I do when the Form 4 reports an LFD separation peel error mid-print?
Pause the print, verify chamber temperature is above 30°C, reduce lift speed via the custom material settings menu, and ensure the model was hollowed with functional vent holes.
Can I clean the Form 4 resin tank membrane with isopropyl alcohol?
Never apply isopropyl alcohol to the flexible LFD tank membrane, as alcohols cause rapid clouding and micro-crazing; use only dry microfiber wipes or soapy water followed by compressed air.
Why does the Form 4 resin wiper detach from its magnetic base during cold mornings?
Cold resin has significantly higher dynamic viscosity, creating immense fluid shear resistance that overcomes the wiper's magnetic holding force; allow the internal vat heater to warm the resin before initiating motion.
How do I bypass a cartridge RFID error if a new cartridge is not recognized?
Clean the cartridge bay pogo pins with isopropyl alcohol, inspect the transponder pad for resin drips, or toggle the printer into Open Material Mode if your shop license allows third-party resin dispensing.
Related Intel
Anycubic Photon Mono M7 Max and M5s Pro Review
An in-depth engineering review of Anycubic Photon Mono M7 Max and M5s Pro resin 3D printers, analyzing 14K optics, ACF peel physics, and Z-axis cantilever rigidity.
UniFormation GKTwo 12K Review and Comparison
The UniFormation GKTwo 12K combines a 29.7 µm 10.3-inch LCD with an integrated PTC vat heater and quick-release hardware, solving cold-resin failures in production workshops.
Common Elegoo Mars 5 and Mars 5 Ultra Issues
Learn how to fix common Elegoo Mars 5 and Mars 5 Ultra issues: tilt mechanism binding from resin contamination, force sensor leveling failures, and release film fatigue. Includes step-by-step rebuild workflows.