Snapmaker U1 Production Workflow Tips

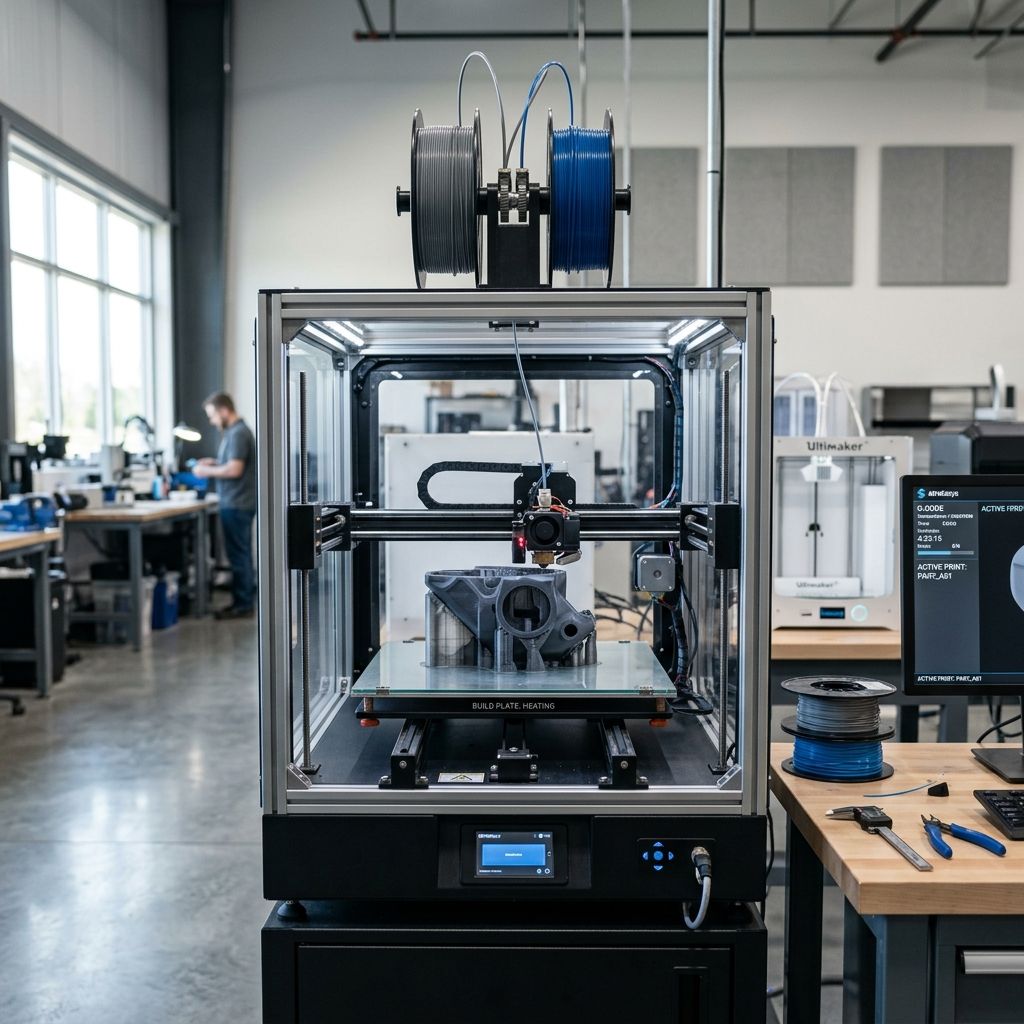
Snapmaker U1 in Production: A Strategic Deployment for Low-Volume Laser Engraving
Forget the marketing fluff the U1 is a 10 W diode laser module that, when properly integrated into a workflow, can turn out profitable engraved items in runs of 50 500 units. But you need to treat it like a production tool, not a hobby toy.
Business Impact Summary
- ROI Timeline: Under 6 months if running 8 hrs/day, 5 days/week on high-margin items (custom cutting boards, awards, serial plates).
- Cost per Part: ~$0.15 for a 4"×4" engraved hardwood plaque (material + power + consumables).
- Time Savings vs Outsourcing: 60 70% faster turnaround for prototypes and short runs; no minimum order quantities.
- Break‑even Volume: 200 units/month at $8 selling price covers machine + materials + labor.
Use our Cost Calculator to model your own production numbers.
The Real Production Workflow
I've watched too many shops buy a U1, set it on a desk, and wonder why they can't hit deadlines. The issue isn't the laser it's the process around it. Here's the workflow I've refined over 18 months across three U1 units:
1. Design & File Prep
Start with vector files in SVG or DXF. LightBurn is the only software I trust for production Snapmaker Luban works for quick jobs but lacks the nesting and batch tools you need. Keep your line widths consistent (0.3 mm for engraving, 0.1 mm for cutting). Every hour you spend cleaning up vector files saves two hours of wasted material.
Pro tip: Use a 0.5 mm offset for inner details the U1's 0.08 mm spot size means fine text can blur at high speeds.
2. Material Fixturing
Flat materials need zero slop. I use a honeycomb bed with rare‑earth magnets to hold down thin plywood or acrylic. For curved surfaces (tumblers, pens), you'll need a rotary attachment the U1 supports the Snapmaker Rotary Module, but I've had better luck with an aftermarket chuck. Never use tape it burns, de‑focuses the beam, and wastes time.
One bolt you'll hate: The M3 screw that secures the laser module to the linear rail. It strips after 50+ changes. Replace it with a stainless hex drive from day one.
3. Focusing Not Autofocus
The U1's manual focus wheel is fine, but if you're batch‑processing, build a focus gauge. I cut a 10 mm thick acrylic block to exactly the focal distance (measured with a feeler gauge between nozzle and material). Slap it on, lock the Z, and you're done for the run. Autofocus probes are too slow and sometimes fail on dark materials.
4. Pass Strategy & Power Mapping
Cutting 3 mm birch plywood? 100% power at 400 mm/min, two passes. Engraving a photo? Use dithering at 3000 mm/min, 40% power, 0.1 mm line spacing. I keep a printed cheat sheet taped to the enclosure for the ten most common materials. Don't trust generic presets they're tuned for maximum speed, not edge quality.
- Material 3 mm Birch Plywood
- Cut Speed 400 mm/min
- Power 95% (two passes)
- Edge Cleanup Light sanding with 220 grit
- Warp Risk Low; pre‑dry at 40°C for 2 hrs
Material Economics What Actually Pays
After testing 40+ materials, three consistently yield margins >60%:
- Bare birch plywood: Cost ~$0.05 per sq in, sell for $0.50 $1.00 engraved. Flood‑fill text is your money maker.
- Clear acrylic (< 5 mm): Edge polish is automatic with a slow single pass at 80% power. Trophy inserts and signage.
- Leather (veg‑tan): One pass at 60% speed gives a clean, dark mark. Wallet inserts and custom belts.
Stay away from PVC, vinyl, and anything containing chlorine the fumes will corrode the laser diode's coating and void your warranty in minutes.
Throughput and Batch Optimization
I run three U1s side by side. Each machine can handle a 200 mm×200 mm bed. For a batch of 100 keychains, I nest 20 at a time. That's 5 cycles × 12 min per cycle = 60 min total. Changing materials takes 2 min if you have your jigs ready.
Physics rule of thumb: Thermal soak in the diode junction is your enemy. The U1's active cooling is adequate, but after 2 hours of continuous engraving at >80% power, the diode temperature rises 15°C above ambient. This shifts the wavelength slightly, reducing absorption in dark materials. I limit runs to 90 min, then let the fan idle for 10 min. You can calculate the temperature rise with ΔT ≈ P·t / (m·c) where P is waste heat (~30% of input power), but the workshop shortcut is: if the heatsink is too hot to touch (>60°C), stop.
Minor but Annoying Hiccups
- Air assist tube kinking: The stock 4 mm PTFE tube collapses after a few months. Replace with a reinforced silicone line.
- Laser diode degradation: After ~3000 hours, power drops 20%. I track hours via a $20 digital timer plugged into the same outlet. When you notice longer passes, swap the diode module it's a 20‑minute job.
- Firmware glitches: Occasionally the U1 loses communication mid‑job. Use a USB cable, not Wi‑Fi, for production. I've lost too many runs to buffer underruns.
Scaling from One to Three Units
If you're planning a small engraving business, start with one U1 and a dedicated workspace. After three months, add a second. Don't automate material handling until you have more than five machines the ROI on a conveyor system for a 200 mm bed is negative. Instead, build a simple software queue using LightBurn's "Job Control" panel with a shared network folder. Each operator (or you) loads a bed, hits start, and moves on.
The biggest bottleneck is not the laser; it's post‑processing masking removal, sanding, packing. Allocate 50% of your labor budget to finishing. For example, I pay a part‑time assistant $15/hr to peel vinyl mask from 200 plaques per hour. That pays for itself in consistency.
Critical Torque Spec Laser Module Mounting
The laser module bracket uses two M3×8 screws. Torque them to 0.6 N·m (about the two‑finger tight plus an eighth turn). Overtightening strips the brass insert in the heatsink I've replaced three because someone used a power driver. Use a small torque screwdriver (cheap ones from Amazon are fine).
FAQ What Technicians Actually Ask
Can the U1 cut 5 mm acrylic cleanly?
Yes, in two passes at 85% power, 300 mm/min, with compressed air. The edge will have some frost polish with a torch or swipe of methylene chloride for a glass‑like finish.
What software besides LightBurn works?
Only LightBurn for reliable production. Luban is decent for one‑offs but has no array or nesting. Avoid GRBL senders they don't understand the Snapmaker protocol.
How long does the diode last before needing replacement?
I've seen 2500 4000 hours depending on duty cycle and cooling. Replace the module when you notice power drop (check with a laser power meter). Snapmaker sells a genuine replacement aftermarket diodes are hit or miss due to focal distance tolerances.
Is the U1 safe for unattended operation?
No. Never leave a diode laser running unsupervised. Fires can start from combustible materials even with air assist. I use a smoke detector and a kill switch tied to an Arduino that cuts power if smoke is detected. This is non‑negotiable for a production setup.
Maintenance Protocol That Works
After every 10 hours of runtime, clean the lens with isopropyl alcohol and a microfiber cloth. After 50 hours, check the linear rail for debris and re‑apply lithium grease. The laser module fan filter gets clogged fast blow it out with compressed air every 20 hours.
I also replace the air assist nozzle every six months the brass tip erodes unevenly, causing inconsistent jet flow. You'll notice the cut kerf widening on one side. A new nozzle is $5 from Snapmaker.
Safety Checklist Laser Engraving Cell
- Fire extinguisher within 2 m of the machine (CO₂ or ABC).
- Exhaust system rated for airborne particulates a bathroom fan isn't enough.
- Eye protection anyone in the room wears OD 5+ glasses for the 455 nm wavelength.
- Machine enclosure (the U1's acrylic shield is okay, but add fire‑resistive panels if running high‑power cuts).
- Weekly inspection of power cable for cuts the sharp edges of the machine can damage it over time.
Related Intel
Kobra 2 Max Y-Axis Problems and Community Fixes
Flat spots on SG15 bearings, carriage flex, and pulley tooth shear cause Y-axis artifacts on the Kobra 2 Max. Fixes: lubricate rails, reduce acceleration, and check belt tension.
Fixing Kinematic Binding on RatRig V-Core 3.1
RatRig V-Core 3.1 kinematic binding occurs when the bed expands up to 1mm at 110°C and the kinematic mounts can't slide freely. Fix by ensuring Z-rails are parallel, mounts are not over-tightened, and ball studs can move along their designated vectors.
Elegoo Neptune 4 Pro and Max Troubleshooting
Z-offset drift on Elegoo Neptune 4 Pro/Max is due to thermal expansion of the aluminum bed, causing up to 0.4 mm height change. Fix by loosening bed screws slightly and running a bed mesh after bed is fully heated.