Creality K2 Pro & K1C Part Replacement: Maintenance Guide

* Affiliate Disclosure: We may earn a commission from qualifying purchases made via our verified links at no additional cost to you.
The Industrial Maker is reader-supported. When you purchase equipment, parts, or materials through links on our site, we may earn an affiliate commission at no additional cost to you.
Creality K2 Pro & K1C Workshop Maintenance: Component Wear Lifecycles, Kinematic Alignment, and Teardown Protocols
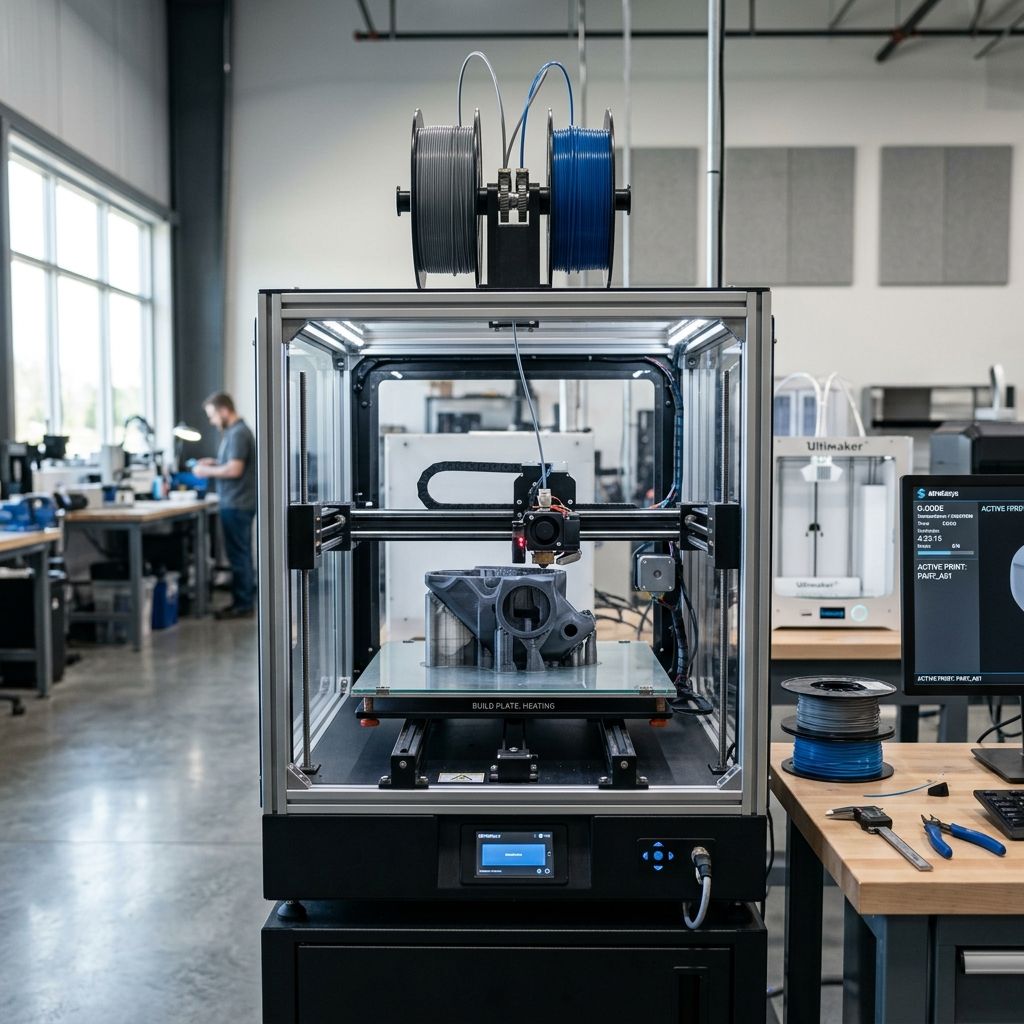
High-speed enclosed CoreXY additive manufacturing platforms like the Creality K2 Pro and K1C subject their electromechanical assemblies to intense operational stresses. Accelerations reaching , toolhead linear feedrates exceeding , sustained chamber temperatures up to , and the continual abrasive processing of carbon-fiber filled polymers drastically accelerate mechanical degradation compared to traditional open-frame Cartesian printers.
In high-utilization commercial prototyping labs and production facilities, unmanaged wear on high-speed components does not merely degrade cosmetic surface finish; it leads to catastrophic thermal runaways, stripped timing belts, toolhead gantry binding, and permanent mainboard MCU destruction caused by pinched sensor wiring. Maximizing operational uptime and achieving a predictable mean time between failures (MTBF) requires shifting from reactive maintenance to disciplined, scheduled component replacement governed by quantitative metrics.
This technical guide details engineering teardown procedures, hot-tightening torque specifications, acoustic belt tensioning mathematics, and preventative service schedules for the Creality K2 Pro and K1C platforms.
For optimal extrusion parameters and thermal profiles on these machines, cross-reference our operational matrix in Creality K2 Pro & K1C Material Settings & Thermal Guide, and consult the hardware economics analysis in Creality K2 Pro vs K1C: Direct Head-to-Head Comparison & ROI.
Recommended Hardware: Creality K2 Pro & K1C
Check current stock, real-time pricing, and official replacement parts directly on Amazon:
View on Amazon • Check Live Price →1. Hotend Teardown: Ceramic Heaters, Thermistors & Tri-Metal Nozzles
The Creality K1C and K2 Pro feature an integrated high-flow hotend with a cylindrical 60W (K1C) or 80W (K2 Pro) 360° ceramic heater band, an ultra-thin titanium/copper bimetallic throat, and the proprietary 'Unicorn' quick-swap nozzle assembly. Disassembly must strictly follow high-temperature protocols to avoid shearing fragile thermal barriers:
- Nozzle Extraction Under Thermal Expansion: Never attempt to remove or tighten a Unicorn or bimetallic nozzle at ambient room temperature (). Cold polymer residues locked inside the threads will bind with the metal threads, stripping the heater block or twisting the titanium heatbreak. Heat the hotend to minimum (or if previously running PC or PA-CF) prior to applying wrench torque.
- Counter-Holding the Heater Block: Applying rotational torque directly to the nozzle without bracing the heater block will immediately twist and snap the fragile titanium throat tube. Always secure the heater block with a precision open-ended 12 mm steel wrench while utilizing an insulated hex socket to turn the nozzle.
- Ceramic Heater Band Replacement: When replacing a fractured or open-circuit ceramic heating ring, thoroughly clean all old boron nitride thermal paste from the copper core. Reapply a microscopic film of high-temperature thermal dissipation compound (rated ≥ 1000°C) before clamping the new ring to eliminate air gaps that cause localized hot-spots and premature heater burnout.
- Thermistor Cartridge Fragility: The glass-bead or cartridge NTC thermistor wires feature delicate fiberglass insulation. Bending leads at 90° angles against the heater clamp creates micro-shorts that report erratic temperature spikes (e.g., jumping between 210°C and 0°C within 100 ms), triggering immediate firmware shutdown.
2. Mathematical Mechanics: Acoustic Belt Resonance & Thermal Joint Torque
Two critical mechanical failure modes on CoreXY gantries are loose drive belts (causing dimensional backlash, oval circles, and ghosting) and hotend plastic leakage caused by thermal expansion mismatch between dissimilar metals.
ANALYTICAL FORMULATION: ACOUSTIC BELT TENSION & NOZZLE THERMAL JOINT
1. Acoustic Belt Resonance Frequency ():
The static tension (in Newtons) of a 2GT timing belt spanning a free vibrating length (in meters) with linear mass density (in ) is governed by the transverse string vibration fundamental harmonic equation:
Solving for required tension as a function of measured acoustic frequency :
For standard Gates 2GT-6mm fiberglass-reinforced timing belts installed on the K1C/K2 Pro, . With the toolhead parked at the far front-left corner, the rear horizontal belt span measures . To achieve the factory-recommended tension of , technicians pluck the belt strand and tune the tensioner screw until a smartphone or optical frequency analyzer registers:
Both X and Y belts must be tuned within of each other. A tension differential between the A and B CoreXY drive loops induces skewing in 90° Cartesian motion, distorting circular bores into skewed ellipses.
2. Nozzle Hot-Tightening Torque ($ au$):
To eliminate molten polymer weeping through the thread interface under 30 bar of hydraulic melt pressure, the pre-load tightening torque must overcome the differential thermal expansion (ΔLth = L0 · (αcopper - αtitanium) · ΔT):
Where is the thread friction factor, is required axial clamping preload, and is mean thread diameter. The target hot-tightening torque at is strictly . Exceeding strips the internal copper threads, while under-torquing below causes plastic seepage that encases the entire hotend inside a blob of death.
Diagnose mechanical binding and stepper skipping with our 3D Printer Troubleshooting Guide and model maintenance and part replacement ROI with our Cost Calculator.
Evaluate exact toolhead acceleration and travel profiles that impact belt fatigue using our Print Speed Calculator and examine volumetric backpressure using our Flow Rate Calculator.
3. Component Lifespan, Torque Specs & Preventative Service Matrix
The following schedule specifies empirical component longevity benchmarks, failure symptoms, and replacement guidelines for commercial operation:
| Component Assembly | Standard MTBF (Neat Filaments) | Abrasive MTBF (CF / GF Filled) | Primary Failure Symptom | Torque / Tension Specification | Service Action |
|---|---|---|---|---|---|
| Unicorn Tri-Metal Nozzle (0.4 mm) | 1,200 - 1,500 hrs | 300 - 450 hrs | Orifice ovality, line width drift > 0.45 mm, rough perimeter skin | 1.8 N·m hot-tighten @ 280°C | Replace nozzle; perform PID autotune |
| Ceramic Heater Ring (60W / 80W) | 2,000 hrs | 1,500 hrs | Heating rate < 2°C/s, thermal runaway firmware error | 0.4 N·m mounting clip screw | Replace ring + boron nitride thermal paste |
| Direct-Drive Extruder Gears | 1,800 hrs | 500 hrs | Under-extrusion on retractions, filament grinding, metal dust | Spring tension screw: 2.5 turns from flush | Replace hardened hobbed gear pair & needle bearings |
| 2GT CoreXY Timing Belts (Gates 6mm) | 2,500 hrs | 2,000 hrs | Severe ghosting ringing, pitch tooth fraying, belt stretch | 135 - 140 Hz (approx. 50 N tension) | Replace both A and B loops concurrently |
| Linear Rod Carbon/Graphite Bushings | 3,000 hrs | 2,500 hrs | Toolhead radial play (> 0.05 mm), axis shudder during travel | Hand snug; zero radial tilt | Clean with IPA; dry burnish; DO NOT OIL |
| High-Temp Silicone Thermal Sock | 600 hrs | 400 hrs | Torn silicone lips, carbonized encrustation, heat block radiated cold air | Snap-fit retention tabs | Replace immediately to maintain thermal stability |
Compute precise layer deposition ratios with our Layer Height Calculator and determine structural interface parameters using our Supports Calculator.
4. Workshop Safety Alert & Electrical Hazard Controls
CRITICAL WORKSHOP NOTICE: ELECTRICAL SHORT CIRCUITS & MAINBOARD DESTRUCTION
Mains Isolation & Live Terminal Hazards: Never perform hotend, heater, or thermistor replacements while the printer is connected to AC mains power. The Creality K2 Pro and K1C utilize switching power supplies delivering up to 350W-500W at 24V DC. Accidental tool contact between the 24V heater cartridge leads and the grounded toolhead frame or thermistor signal wires will instantly route 24V into the mainboard microcontroller's 3.3V analog-to-digital converter (ADC) pins, destroying the STM32/GD32 processor in milliseconds and requiring total mainboard replacement.
Follow this mandatory safety protocol:
- Disconnect the AC power cord from the wall outlet prior to unscrewing toolhead covers or unplugging umbilical cables.
- When pre-heating for nozzle hot-tightening, use the software interface to reach temperature, then switch off heater power or disconnect the toolhead umbilical before applying high-torque mechanical wrenches.
- Always wear heat-resistant Kevlar mechanic gloves when handling hotend assemblies at 280°C to prevent third-degree contact burns.
For moisture-related filament failures that masquerade as worn nozzles, verify filament moisture thresholds using our Filament Drying Calculator.
5. Extruder Drive Teardown, Cleaning & Backlash Adjustment
When carbon fiber fragments and stripped filament particles accumulate inside the direct-drive extruder cavity, drive gear tooth bite drops, causing intermittent under-extrusion that mimics a clogged nozzle:
- Extruder Disassembly Sequence: Unthread the three M3 socket-head screws securing the extruder casing to the toolhead bracket. Carefully separate the motor front-plate, taking care not to dislodge the internal planetary gear reduction or tension spring.
- Ultrasonic Cleaning of Hobbed Teeth: Submerge both hardened drive gears in an ultrasonic bath filled with isopropyl alcohol for 5 minutes, or scrub the tooth valleys vigorously with a stiff brass wire brush to dislodge compacted polymer micro-particulates.
- Needle Bearing Lubrication: Inspect the dual miniature needle bearings supporting the idler gear shaft. Apply half a drop of high-viscosity synthetic grease (such as Krytox GPL 205) to each bearing. Caution: Ensure zero grease contacts the hobbed teeth that grip the filament.
- Preload Tension Calibration: Reassemble the tensioner arm. Turn the external tension adjustment screw until the spring collar sits exactly 2.5 complete turns clockwise from flush. Over-compressing the spring crushes brittle composite filaments (causing internal filament fracture), while under-compressing induces slippage under high volumetric acceleration.
For software-side toolpath debugging and G-code compensation, read our operational guide: PrusaSlicer Error Fixes: Slicing Bugs & G-Code Guide and explore enterprise slicing strategies in PrusaSlicer Enterprise Guide: B2B Slicing Architecture & ROI.
6. Frequently Asked Questions (K2 Pro & K1C Part Replacement)
How do I know when my K1C Unicorn nozzle needs to be replaced?
Replace the nozzle when you observe persistent exterior perimeter roughness, micro-stringing that resists retraction tuning, or when an extrusion bead hangs with a curved curl upon exiting the nozzle into free air.
Can I lubricate the carbon/graphite rods on the K2 Pro with sewing machine oil?
No; the graphite bushings on the K-series gantry are self-lubricating dry bearings. Applying wet oils or lithium grease causes airborne plastic dust to form an abrasive grinding slurry that permanently scores the linear rods.
Why does my new ceramic heater band trigger a 'Heater temperature out of range' error?
This occurs when the new ceramic element has slightly different resistance or thermal mass than the original; executing a complete PID autotune command (PID_CALIBRATE HEATER=extruder TARGET=250) resolves the issue.
What is the correct method to balance CoreXY belt tension without expensive tension gauges?
Park the toolhead at the front center, pluck the longest rear horizontal belt spans like guitar strings, and use an acoustic microphone tuner app to adjust both belts until they resonate at identical frequencies (~138 Hz).