E3D Revo Troubleshooting: Heat Creep & Sensor Fixes

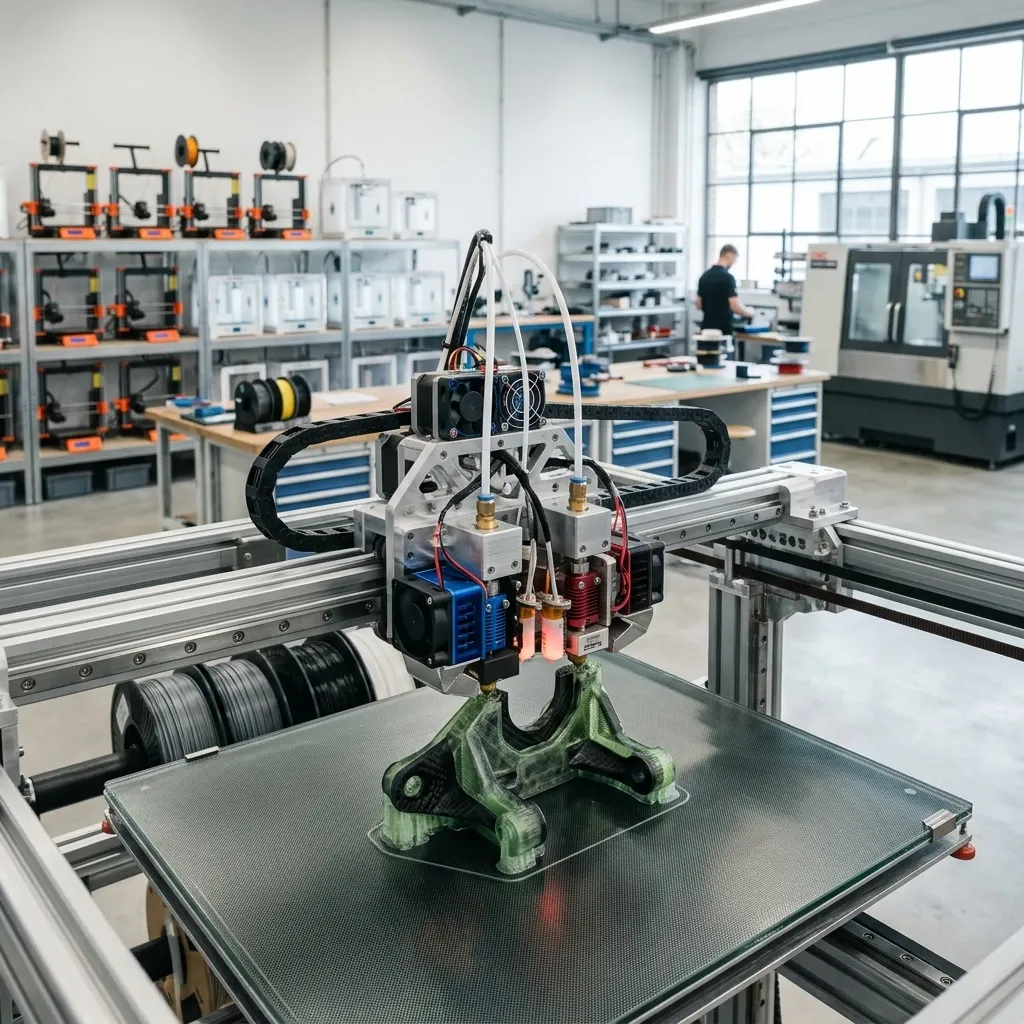
E3D Revo Troubleshooting: Heat Creep & Sensor Fixes
Shop-tested solutions for preventing titanium heatbreak fracture during cold pulls, repairing intermittent HeaterCore thermistor faults, and eliminating high-temperature heat creep jams.
Engineering Architecture: E3D Revo Thermal Ecosystem
The E3D Revo platform fundamentally redesigned consumer and commercial hotend architecture by fusing the brass or ObXidian nozzle tip directly to a thin-walled Grade 5 titanium heatbreak tube. This eliminates traditional threaded heat blocks, PTFE coupler gaskets, and molten plastic leakage between nozzle and heatbreak. However, the unified construction introduces unique failure physics: lateral shear during aggressive cold pulls can bend or snap the precision titanium tube, cyclic strain on HeaterCore spring clip leads induces intermittent open-circuit faults, and inadequate heatsink boundary convection triggers rapid heat creep at 280°C+. For comprehensive root-cause analysis on broader printer extrusion failures, use our interactive 3D Printer Troubleshooting guide.
Primary Workshop Diagnostics: Titanium neck tensile limit during clearing, HeaterCore crimp fatigue resistance, heatsink forced convection boundary limits, and filament glass-transition softening zones.
Field Failure Modalities Across Revo Installations
In high-throughput 3D print farms and commercial prototyping shops, the E3D Revo ecosystem promises lightning-fast nozzle swaps without wrenches or hot-tightening. In production reality, running machines 24/7 on carbon-fiber nylons, polycarbonates, and engineering polymers reveals distinct mechanical and electrical vulnerabilities. Shop technicians frequently encounter three costly failure points: sheared titanium necks from improper manual cold pulls, sudden thermal runaway or MAXTEMP aborts during high-speed gantry acceleration, and heat creep clogs when operating enclosed chambers.
Understanding the physics behind these failure points prevents expensive component scrap and unexpected downtime. In many ways, managing wire harness strain and thermal boundaries mirrors the maintenance dilemmas explored in our guide on Bambu Lab P1S/P1P Common Issues and How to Fix Them. On the Revo system, adhering to strict mechanical protocols ensures maximum hardware lifespan.
| Failure Symptom | Mechanical Root Cause | Diagnostic Indicators | Corrective Action Protocol |
|---|---|---|---|
| Bent or snapped nozzle assembly during clearing | Excessive axial tension or non-coaxial torque applied to the thin-wall titanium neck | Nozzle tip angled relative to heat sink or sheared at neck shoulder | Execute temperature-ramped atomic pulls strictly along the vertical Z-axis below 150 N pull force |
| Intermittent MAXTEMP / MINTEMP error during rapid Y/X travel | Micro-fracture of silicone-insulated thermistor leads inside the spring retention clip | Klipper or Marlin throws "Thermal Runaway" during infill moves at high acceleration | Relieve cable tension with a 3D-printed strain relief bracket; replace HeaterCore assembly |
| Extruder motor skipping and clicking after 45 minutes of printing | Insufficient convective heat transfer across heatsink fins, softening filament in the cold zone | Swollen filament plug extracted from heatsink with bulbous diameter > 1.95 mm | Replace axial cooling fan with high-static-pressure dual-ball-bearing fan; lower enclosure temperature |
| Persistent oozing and burnt polymer flaking | Thermal degradation of filament pooled in the elongated Revo internal melt reservoir | Dark streaks across light-colored parts and intermittent partial clogging | Purge with high-density cleaning filament at 250°C and drop idle standby temperature to 140°C |
| Loose nozzle vibrating free during print cycles | Hand-tightening performed without engaging the silicone sock retention shoulder | Nozzle thread backing out 0.5 mm, resulting in severe Z-offset layer scraping | Finger-tighten cold with clean threads, verify full seating depth, and install silicone sock correctly |
ELECTRICAL SAFETY & SHORT CIRCUIT HAZARD: The Revo HeaterCore integrates both a positive temperature coefficient (PTC) ceramic heating ring and a glass bead thermistor inside a compact annular package held by a spring clip. Never manipulate the wiring harness while the toolhead is powered. A broken thermistor ground wire touching the active 24V heater line will backfeed line voltage directly into the 3.3V microcontroller ADC pin on your mainboard, instantly destroying the processor chip.
Physics of Heat Creep: Conduction vs Convection Along Thin-Walled Titanium
To diagnose why Revo hotends clog during long prints with high-temperature materials like PC, ABS, and PA-CF, we must evaluate 1D steady-state conductive heat transfer along the titanium heatbreak neck according to Fourier's Law:
Mathematical Formulation of Conductive Heat Transfer:
$$\dot{Q}_{\text{cond}} = k \cdot A \cdot \frac{T_{\text{hot}} - T_{\text{cold}}}{L}$$
Where:
$$\dot{Q}_{\text{cond}} = \text{Conductive heat transfer rate into the cold heatsink (W)}$$
$$k = \text{Thermal conductivity of Grade 5 Titanium (Ti-6Al-4V) } \approx 6.7\text{ W/(m}\cdot\text{K)}$$
$$A = \text{Annular cross-sectional area of the titanium heatbreak tube (m}^2\text{)}$$
$$T_{\text{hot}} = \text{HeaterCore temperature (K)}$$
$$T_{\text{cold}} = \text{Lower heatsink root temperature (K)}$$
$$L = \text{Effective length of the thin-walled thermal barrier (m)}$$
Shop Floor Thermal Calculation:
The Revo titanium heatbreak features an outer diameter $D_o = 2.4\text{ mm} = 0.0024\text{ m}$ and an inner bore diameter $D_i = 1.9\text{ mm} = 0.0019\text{ m}$.
The annular cross-sectional metal area is:
$$A = \frac{\pi}{4} \cdot (D_o^2 - D_i^2) = \frac{\pi}{4} \cdot ((0.0024)^2 - (0.0019)^2) = \frac{\pi}{4} \cdot (5.76 \times 10^{-6} - 3.61 \times 10^{-6}) = \frac{\pi}{4} \cdot (2.15 \times 10^{-6}) \approx 1.689 \times 10^{-6}\text{ m}^2$$
The active neck length is $L = 3.5\text{ mm} = 0.0035\text{ m}$.
When running polycarbonate at $T_{\text{hot}} = 290^\circ\text{C} = 563.15\text{ K}$, inside an enclosed printing chamber where the heatsink root sits at $T_{\text{cold}} = 55^\circ\text{C} = 328.15\text{ K}$:
$$\Delta T = 563.15 - 328.15 = 235\text{ K}$$
$$\dot{Q}_{\text{cond}} = 6.7 \cdot (1.689 \times 10^{-6}) \cdot \frac{235}{0.0035} = 6.7 \cdot (1.689 \times 10^{-6}) \cdot 67,142.86 \approx 0.760\text{ W}$$
While 0.76 Watts sounds small, consider that the cold zone heatsink must dissipate this heat strictly via forced convection:
$$\dot{Q}_{\text{conv}} = h \cdot A_s \cdot (T_{\text{sink}} - T_{\text{ambient}})$$
If the 30 mm heatsink cooling fan degrades, or if the chamber ambient air reaches 60°C ($T_{\text{ambient}} = 60^\circ\text{C}$), the convective dissipation capacity drops below 0.76 W. The heatsink temperature rises past the glass transition temperature ($T_g$) of the polymer (for PLA, $T_g \approx 58^\circ\text{C}$; for PETG, $T_g \approx 75^\circ\text{C}$). The solid filament column buckles under extruder drive roller pressure inside the cold throat, locking the filament in place.
Cold Pull Protocol Without Damaging the Titanium Heatbreak
Because the Revo nozzle and heatbreak form a single brazed component, aggressive angled jerking during a cold pull will bend or snap the 0.25 mm thin titanium neck wall. Never grab pliers and pull filament sideways. Follow this precision workshop procedure using specialized cleaning filament or unreinforced nylon (PA6):
Step-by-Step Atomic Cleaning Sequence
- Heat the Revo hotend to 250°C (for nylon) or 220°C (for cleaning filament).
- Feed 100 mm of unreinforced nylon filament manually into the extruder while releasing the idler tension arm until clean polymer purges from the tip.
- Cut hotend heater power completely and allow the temperature to drop to 90°C for nylon (or 65°C for PLA).
- Once the target temperature is reached, grasp the filament firmly directly above the heatsink entry port with smooth-jawed pliers.
- Apply steady, strictly vertical axial tension directly along the centerline of the nozzle (zero angular deflection).
- Maintain constant 40 N to 60 N upward tension. As the temperature approaches the transition threshold, the solid plug will pop cleanly free from the nozzle orifice.
- Inspect the extracted plug under magnification: a successful pull displays a complete inverted cone geometry mirroring the internal nozzle orifice, complete with captured charred debris.
MAXIMUM TENSILE PULL LIMIT: The thin-walled titanium neck on an E3D Revo nozzle has a tensile yield limit of approximately 180 N at room temperature. If the filament plug does not release at 90°C with moderate hand tension, DO NOT yank with full body weight. Increase the hotend temperature in 5°C increments (95°C, 100°C) until the plastic yields cleanly without overstressing the titanium joint.
HeaterCore Thermistor Wire Fatigue: Root Cause and Rewiring
The most common electrical failure reported by workshop technicians on Revo hotends is the sudden triggering of MAXTEMP or MINTEMP error codes during high-speed gantry moves. Because the HeaterCore uses fine-gauge flexible wires wrapped in glass-fiber braiding, repetitive flexing near the spring clip creates work-hardening fatigue in the copper conductor strands.
Once internal strands fracture, electrical resistance spikes intermittently to infinity (open circuit) during rapid X-axis reversals, which the firmware interprets as an instantaneous temperature drop or sensor fault, immediately halting the print job.
Diagnostic and Strain-Relief Protocol
To eliminate wire fatigue failures, implement these shop-tested preventive measures:
- Multimeter Flex Test: Connect a digital multimeter set to resistance ($Omega$) across the blue thermistor pins on the Molex Micro-Fit connector. The ambient reading should be approximately 100 k$Omega$ at 25°C. Flex the wire harness back and forth near the HeaterCore exit sleeve. Any fluctuation exceeding ±2 k$Omega$ confirms internal conductor fatigue; discard the HeaterCore immediately.
- 3D-Printed Umbilical Bracket: Never allow the HeaterCore pigtail wires to support the weight of the main toolhead wiring loom. Install a rigid strain relief bracket that anchors the Molex connector solidly to the carriage frame, ensuring that all flexing occurs on high-strand-count industrial drag-chain cable rather than the delicate ceramic leads.
- Spring Clip Seating: When replacing the HeaterCore, ensure the circular spring retention clip is seated squarely around the heatsink groove. An improperly seated clip allows the HeaterCore to vibrate laterally during fast infill printing, accelerating lead fatigue.
Tackling Heat Creep: Fan Upgrades and Airflow Management
The standard 3010 axial cooling fan included with Revo hotends delivers approximately 3.5 to 4.2 CFM of airflow in open air. However, when mounted against the tightly packed circular cooling fins of the Revo heatsink, backpressure increases significantly, reducing actual volumetric airflow through the fin matrix.
When operating inside heated enclosures or printing engineering filaments at nozzle temperatures exceeding 270°C, stock cooling frequently proves inadequate. This leads to persistent heat creep jams, requiring operators to inspect mechanical tolerances similarly to resolving calibration drift in production machines, as outlined in our diagnostic guide on Prusa MK4S Loadcell Drift Fix: Workshop Guide.
- Upgrade the stock sleeve-bearing 3010 fan to a high-static-pressure dual-ball-bearing fan (such as Sunon MagLev MF30102V2 or Delta equivalent) producing at least 4.8 CFM and > 4.5 mm H2O static pressure.
- Verify that the hotend fan duct is 3D-printed in high-temperature polymers (ABS, ASA, or PA-CF) to prevent duct sagging that directs cooling air onto the heater core rather than the heatsink fins.
- Never power off the 3D printer immediately after finishing a 280°C print job. Allow the cooling fan to run until the hotend temperature drops below 50°C to dissipate residual thermal soak.
- Maintain an enclosure air temperature below 45°C when printing PLA or PETG to ensure a minimum 15°C margin below the material glass transition point.
Maintenance Checklist for Commercial Print Farms
Deploying dozens of Revo-equipped printers in commercial environments requires scheduled preventive maintenance. For general tooling best practices, see our field analysis on Deploying 3D Printing Tool Sets in Commercial Farms. Follow this routine inspection schedule:
| Inspection Interval | Check Item | Acceptable Standard | Failure Corrective Action |
|---|---|---|---|
| Daily (Start of Shift) | Silicone Sock Integrity | Clean, tear-free, securely covering HeaterCore | Replace sock if torn, hardened, or contaminated with carbon |
| Weekly (100 Hours) | Cold Heatsink Fin Inspection | Zero dust, lint, or debris blocking fin passages | Blast clean with dry compressed air; clean with nylon brush |
| Monthly (400 Hours) | HeaterCore Wire Resistance Check | Stable resistance across 30° flex cycles | Replace HeaterCore if resistance drifts during mechanical flex |
| Quarterly (1,200 Hours) | Nozzle Orifice Wear Inspection | Circular orifice within ±0.03 mm of nominal spec | Swap worn brass nozzles for ObXidian or DiamondBack variants |
Frequently Asked Questions
Why did my E3D Revo nozzle snap when attempting a cold pull?
Revo nozzles integrate an ultra-thin Grade 5 titanium heatbreak tube that can shear under lateral force; cold pulls must be pulled strictly along the vertical Z-axis with no angular deviation.
What causes intermittent MAXTEMP errors during fast prints on Revo hotends?
Repetitive gantry acceleration causes work-hardening fatigue in the thermistor wires near the spring clip, resulting in micro-fractures that trigger open-circuit sensor errors during motion.
How do I prevent heat creep clogs when printing inside an enclosure with Revo?
Upgrade to a high-static-pressure dual-ball-bearing cooling fan, maintain chamber air temperatures below 45°C for lower-temp polymers, and never turn off machine power while the hotend is above 50°C.
Can I use thread-locking compound on E3D Revo nozzle threads?
No, Revo nozzles are designed for finger-tight hand assembly without thread-lockers; adding chemical compounds damages threads and impairs thermal conductivity.